News - Warzone 2 Zombies: Tier 4 And 5 Zone Guide. Mwz
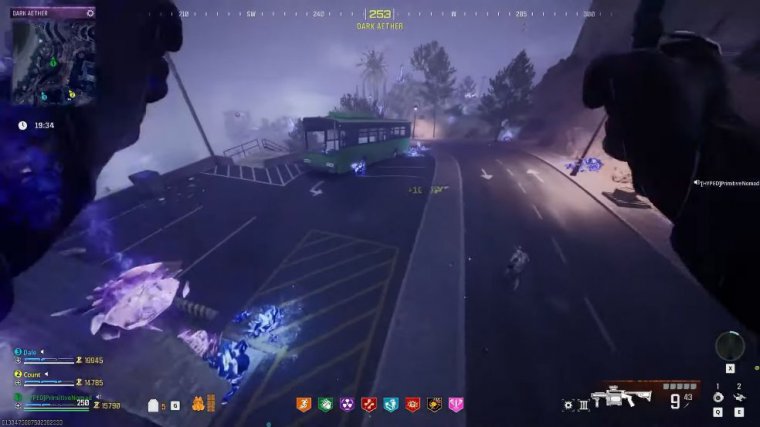
Nomad, in today's article, we're going to go over the Tier 4 and Tier 5 zones. This is a new portal that came to the game in season 1, where you need to use the sigils or the elder sigils to activate them. This is going to be a quick article guide. I'm going to get straight to the point so you guys can get right out there with all this knowledge and take on these zones.
We're on the road to 10,000,000 subscribers. We'd love to have you, but without further ado, let's get straight into it. Let's cover the basics. First off, I know this may seem super obvious to you guys. The perks you really want to focus on are speed cola, stamina up, Juggernaut, and Quick Revive.
Deadshot Dak can help you with crit damage as well, but do not worry about Tombstone. Tombstone does not work in the Tier 4 or Tier 5 Zone; it will disappear if you die. All the other perks are optional as well; you can get them, but they are not necessary. Now, when it comes to these zones, I do recommend, at a minimum, going with two people in a squad.
You can go up to six, but keep in mind that zones, just like any boss in the game, will scale to the number of players in your squad. It's totally doable. Solo or with a twan, two to three is preferred; four you can get away with, but keep in mind it does scale. The zone will scale the enemies that spawn the amount of hvts.
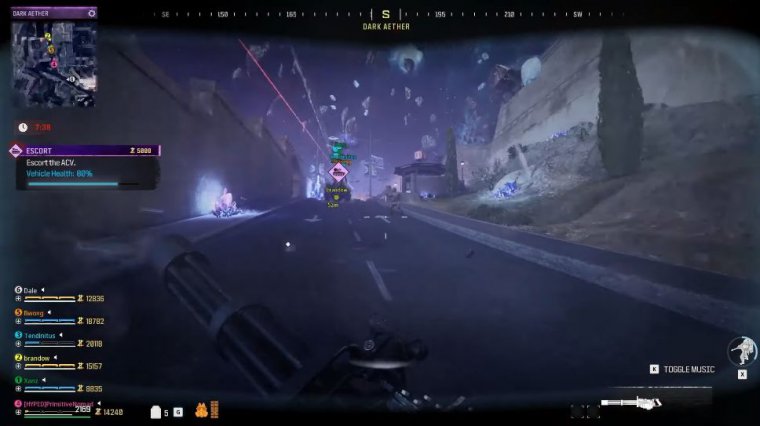
No matter how hard the contracts are, they will scale with the size of your party now. As you guys would have guessed, I do recommend going in with pack three weapons; it will not be doable unless you're pack three. Now, when it comes to rarity, you can get away with blue as your rarity. I do recommend epic or legendary, but blue will suffice.
I've done it with green rarity, and it did work, but at a minimum, try to get blue. Now here is the biggest tip that I want to give you guys overall for the Tier 4 and Tier 5 zones. It is similar to Tier 3, where you're going to have to be running around. I will say the zone and the environment are a little bit tighter; there's a lot of elevation change, but there's a lot going on in the tighter zones within this new map.
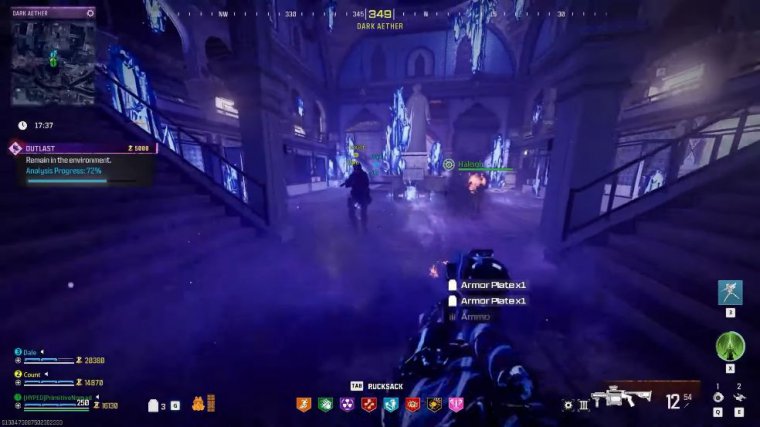
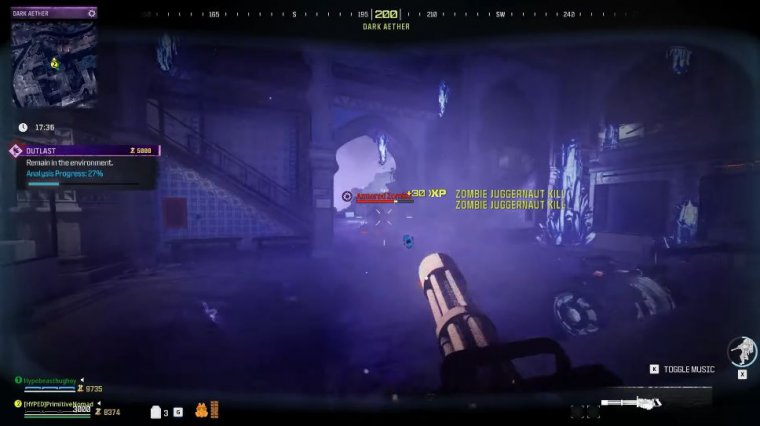
I do recommend having one person in your squad focus on taking out the group of zombies if you haven't already. I have a article that goes over the best weapon for crowd control. Go check it out. This is a gun I normally run in my squad while the other members of my squad run their standard weapons, ARS light machine guns.
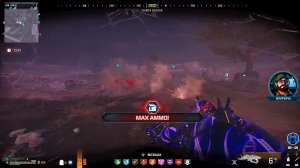
Whatever it may be, I focus on taking out the zombies while all the other people focus on the HVTs. Because during these contracts and during your time in the Tier 4 and Tier 5 Zones, there are going to be a ton of HVTs around, like, a ton. There's going to be mega bombs, there's going to be disciples, there's going to be manglers and mimics, sometimes all of them at once and multiple ones at a time, so focus on that a couple people in your squad focusing hvts, and have one person, specifically, focusing hords of zombies.
That is the biggest thing, because the congestion of zombies in this zone is insane. It's super fun; it makes it high-octane. Next, let's talk about things that you should bring in. This is probably by far the most important thing you guys want to keep in mind. Each member of your squad should have two to three self-revivals.
I also recommend bringing in a couple juggernauts. Sentry turrets will not really help you out, but juggernauts are fantastic. You're going to want to use them during the escort mission because of the three contracts that are in the tier four and tier five zones: the Outlast contract, the Aether extractor, and the escort mission.
The escort mission is by far the hardest one, but keep in mind that each contract you complete has a chance to get a schematic, so you do not need to finish all three contracts, and it is guaranteed. Schematic: each contract is guaranteed; now you may get a duplicate, but it is guaranteed that you will get a schematic, so if you can't pass the escort mission, you can jump back in and do all the other ones just to get the schema, to get all three, so you're going to go in with self-revivals.
You're going to go in with juggernauts. As well as the fact that you're going to want to bring in healing ore, healing ore is fantastic. When you're in a squad, you guys should communicate and use it when people go down. It's super fantastic for easy revives of members of your squad when they go down because you're going to be focusing on a lot of zombies during this time.
I do also recommend bringing in a couple turret mods, two to three, if you can spread them out among your team. The thing about this is that it's going to be purely RNG. The turrets don't always spawn in the same locations; heck, they might not even spawn at all, but they will help you a lot, especially on the Outlast contract.
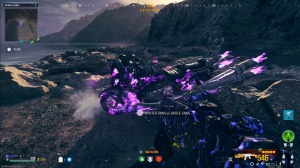
There is an area where a guaranteed mega bomb—one to two mega bombs—will spawn towards the end of the contract, and sometimes there's a turret there to help you get rid of these HVTs. These mega bombs are extremely fast, as well as giving you the ability to protect the vehicle a lot easier. Now, really quickly.
How do you do these zones for some of you guys who haven't done them? The contracts are not on the map; they're going to be in three specific areas on the map. I do have a article showing you all the locations. They do not change; they're always there; they're indicated; by a teddy bear, you'll find them; you'll pick it up; and that is how you start your contract.
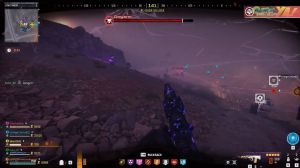
Also, keep in mind that whoever picks up the contract is going to get this light. This orb of light spawns on top of their weapon for the duration of the contract. This is another mechanic, that the tier four tier five Zone has in it to make it a lot difficult for you, lastly I do recommend somebody in your squad coming in with a tier Three Dog super great during the early stages of the zone to help revive Squad members as well as just prevent zombies from getting too close and personal with you it'll help push him back a little bit the dog will eventually die but it is beneficial, in the early stages there's also Rifts located in many different locations around this zone for you to take to get to contracts faster to get to elevations.
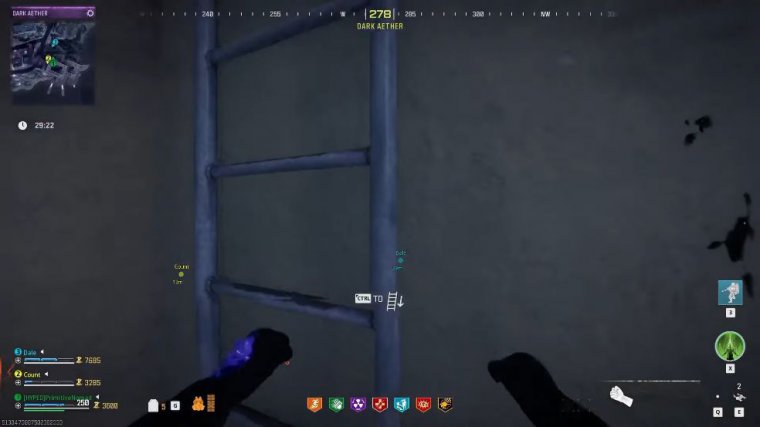
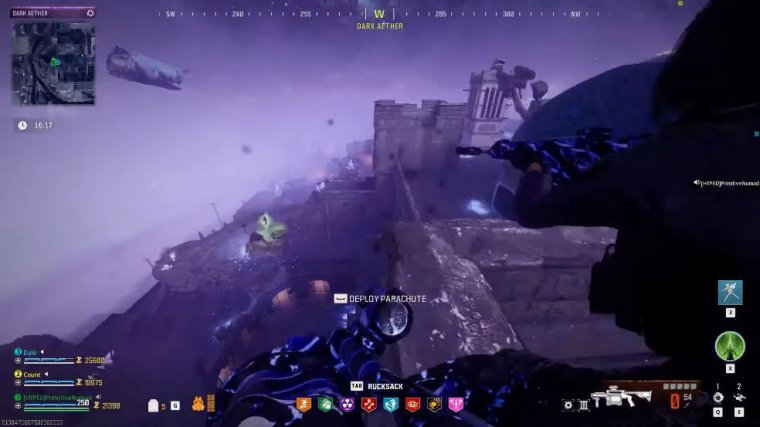
Faster, whatever it may be, the xville is located on the top of the castle on one of the towers. This xville is there at the beginning, and it will stay there for the remainder of the match. Just so you know, once you're done, that is where it's located. Again, nothing shows on your map, so you will not be able to find the contract, the XFI, whatever it may be.


