News - Mwz Act 4 Solo Guide To Boss & Missions - Beat Gorm'gant Easiest Tutorial Warzone 2 Zombies
Sup folks, this is Ray Pooperton, the third back with another Modern Warfare Zombie article. Today I've got a complete guide to soloing the Act 4 mission and boss fight. This is a tough one, so prepare.
Setup

This boss is an absolute bullet sponge, so if you're wanting to be fully prepared going in having both guns triple packed in as rare as possible, you may want a tombstone a game or two and build some money and assets. Note that when tombstoned, only your money and backpack storage slots will be in the tombstone; anything equipped will not be available.
Also, if you fully die before grabbing your tombstone, it will disappear, even if you plead and get picked up, and if you're tombstoned twice, make sure you empty your tombstone. If you leave an item and, when you die, your tombstone is still on the map, the following game it will not show up, and you'll have lost all that loot and the time getting it.
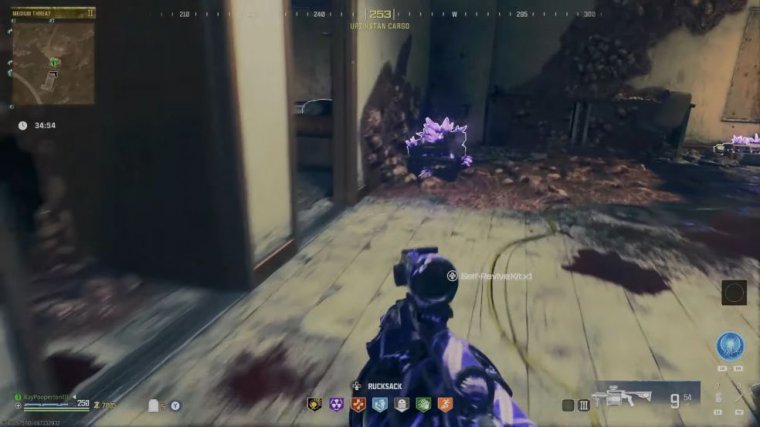
If you're not tombstoning, having pack crystals will give you a head start on the money you need, but your game will be jam-packed with setup without much time to spare. Obviously, bringing in orange and purple tools will reduce your time looting for them, which helps massively, plus purple and orange tools are rare, so you'd likely have to settle for a blue tool coming in without.
Now for the weapons to use, the first part of Act 4 is easily handled with a Pap 2 RGL. You can fire while plating and pressing the go button on the soul collectors, so it is by far the easiest way to speed through the beginning. You'll want as much time for the boss as possible for the boss to kill his weapon.
Choose something with great damage per second as well as range, pick your favorite lmg, or if you're feeling crazy in a Kimbo pistol, my personal favorite gun right now is the wsp sub a Kimbo; it does great work on those pesky wisps, too; alternatively, if you don't have any ether tools, use the buildable purple tool on the Nade launcher and grab an orange wall by from Zone 3 on the game you plan to enter the Act 4 portal.
Like I said, any high damage per second weapon with good range is going to be fine; they all require many bullets. Regardless, for perks, I highly recommend Jug Stam and Quick Revive for the health regen boost. Deadshot for crit damage and, of course, floppers, so you don't blow yourself up spamming the RGL for the field upgrade.
I like energy mine and ether shroud, as both can help you in the beginning and both can buy you some time to focus on spraying bullets at the boss. Another option is Frenzy Guard, as you will likely be without armor for most of the boss fight; otherwise, for tax, I run decoys and throw knives, but it's really whatever works for you.
In-game setup

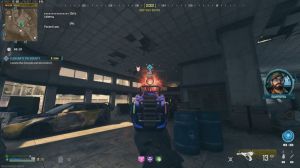
Once you're in the game and preparing for the boss, triple pack as rare as possible and fill your backpack with self-rubs and a couple turret chips. Infected strongholds and crystal boxes, in general, are great for both. You can also buy Reps for 5K a piece from the tier 2 and above shops. While you're at the shop, grab a Sentry, and if you're having trouble with the time limit on the boss, grab an extra gas mask.
Durables are available at the Zone 3 shop for 4K, but as always, the Red Zone has decoys; just like in Act 3, boss jug suits do not do enough damage to justify the price tag. You can bring a dog into the story like always, but when I did, he died before I could get to the boss for him to be useful for revs and distraction.
Once you're all set, head to the Xville bad signal by the tornado and head into the dark ether. You will have to interact with the portal and go to the TAC map to confirm.
Breaking the seals
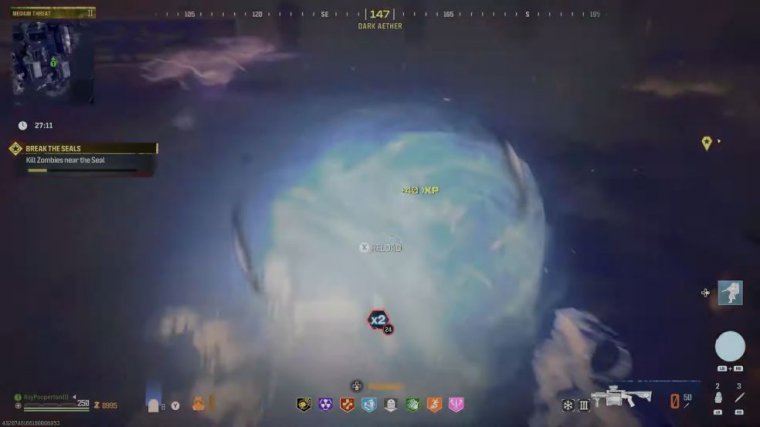
Breaking the seals is something you're probably used to doing to capture souls. Activate the seal by interacting until the bar completes and getting kills inside the circle to send souls into the seal capture.
Once the seal breaks, move on to the next. As I said, you can fire the RGL as you interact, which is huge because sometimes it bugs out and you have to press the button again. Stay plated up. Fireing the launcher while plating feels very nice, and plates to refer Your stash will be everywhere on the ground amidst the gore, and your field upgrade will constantly fill back up, so use them if you have energy.
Mine can be really helpful for reloading, and when specials get you cornered, fill the bar from captured souls and move to the next seal. Try to be quick and efficient with the seals to give yourself as much time as possible for the sponge worm. The two seals in the middle are grouped together, so you can easily knock those out back-to-back once you complete all four. You are onto the boss.
Killing the boss

First off, find the turret, if any; if you're lucky, there is one nearby the bathroom where we will camp out for this boss fight. If not, well, you can drop the chips and pick up some extra plates or self-revs if you're lucky enough to find any while trying not to get eaten.
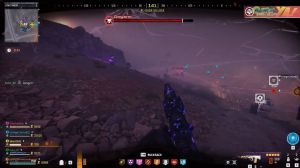
When you approach the portal to exit, surprise, it's not so easy an ether worm Bust from the sand, bringing sweet memories of the ease of the act three story name. This is his cranky, mean cousin. He takes way more damage, and his attacks are much more lethal. There are four attacks at the gorm's disposal: first, the laser, which is deadly.
It is what you want him to do the most. Use the restrooms as cover and cheat out a bit, targeting his visible weak point. If you peek out just enough, the laser will be blocked by the building, and you can drill him until he switches attacks. Sometimes you will spam the laser, and you can deliver a good amount of damage.
Second is his tunnel attack; he will fly into the ground and zoom around the map. If he catches you slipping and hits you, you will fly into the air, and the worm giant will gobble you up, gowning you. With a little luck, if you mash the parachute button, you can avoid getting eaten. This is a rarity, though, so it's best to just try and stay on the opposite side of the bathroom as him.
When he's under ground up there with you, you can force him out by hitting him with the rgl. Be sure to lead your shot, especially when he's far away. When he emerges, throw a decoy and drill his weak points for critical damage indicated by the yellow hit marker. If he emerges up by the bathroom doors and there's room, go into the bathroom with the best view of them.
Everything will come through the door, and he won't be able to hit you, drill him, or do anything that appears in the doorway with your Pap three bullet weapon until he buggers off into the ground again. Do not sit just outside the bathroom; the overhang will not protect you. Sometimes he will burrow deep into the beach.


