News - Warzone 2 Zombies. Season 2 Reloaded Easter Egg Guide. Schematics & Tombstone Duplication Glitch
Intro

Wesley is here, and today I'm going to be showing you guys how to unlock the brand new Easter egg, those new schematics, and the new dark ether in as little as two games. For the purposes of this article, I'm going to be doing this solo just to show you guys that you can do it fully solo; however, you are more than welcome to do it with teammates.
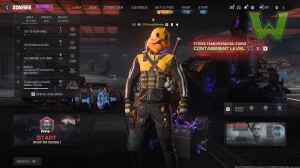
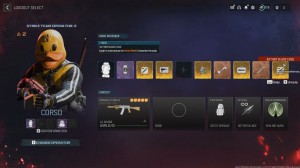
You will have the ability to do so, so keep watching, and let's get into it. Now, first and foremost, we're going to go ahead and assign a particular mission. The new mission that came out with season 2 reloaded is called Countermeasures. You can find it under the Act 4 tab, right under Bad Signal.
This is very easy to find. Make sure that you have it selected, though, because if you don't have it completed, you need to make sure that you have it selected. Obviously, since I've completed it, I cannot select it, but I still have access to the portal, so let's get into it. So the portal is located in Tier 3; it's actually very easy to get to be careful while you enter it, though if you have teammates.
I would suggest that everyone just stays out of Tier 3, generally speaking, unless you have upgraded weapons and have someone trigger the portal, and everyone can accept, but as a solo player, what I'm going to do here, actually in my article, is I went ahead and did the tombstone duplication glitch.
Yes, you can do it with this portal. You have to use this one right here, but anyway, the long story short of it is, go ahead and activate the portal and enter the Ether. You don't have to do all this complicated stuff that I was doing. I'm just recording glitches, so let's get into the actual steps to this.
Obelisk 1

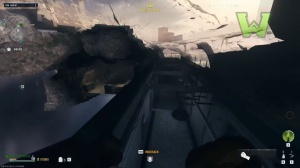
So once you've made it into the ether, what you want to do is equip whatever weapons you want to use, and right behind where you spawn on this large ship, you cannot miss it; it's impossible. You're going to find an obelisk.
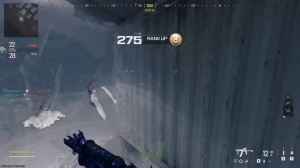
Go ahead and activate it, and I highly suggest that you wait a second before grabbing an instakill. I didn't wait; it really doesn't matter because it doesn't take that long to do this portion, but when you activate the Obelisk, what you're going to need to do is melee zombies to death within the circle that is key here.
Make sure that you do everything within the circle, and what's going to happen is that you're going to see trails move to the Obelisk. And sooner or later, it's going to be complete, and what you're going to get are MMA gloves.
Obelisk 2
Now these MMA gloves are one of the four Easter egg items, so right across here you're going to find where the second item is.
You can see the ship in the distance right there; it is super close, so all of these are within earshot of each other. Now, when you activate this one, what you're going to need to do is get going to need to get head shot within the circle, so it's very simple again, just like the first one. Instead of meleeing, all you're doing is getting a head shot.
These two are very, very easy. The next one that I'm going to show you is a little bit more difficult, but the reward from this one specifically is the target, so you now have the gloves and the.
Obelisk 3

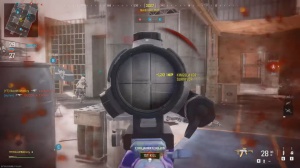
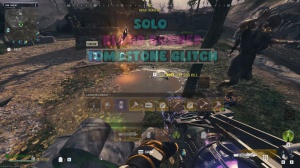
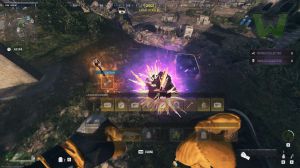
Target now once you've completed that you are good to go just make sure that you are ammo up make sure that you have a good regular weapon for this now this is going to be a requirement for actually upgrading them so again make sure that you have a normal bullet based weapon, with you so where we're going to go next is you're going to notice that there is a large fogged field, it's very hard to miss I would highly suggest that you have a regular weapon as well as a scorcher for this tutorial, so go ahead and find this area and what you're looking for is a perfect circle of crystals so you can see right here it's very obvious where it is once you know what you're looking for you are going to find your third Obelisk here now this is going to be the hardest one so just be very careful when you do this go ahead and activate the seal.

So what's going to happen is that the circle and the zombies are going to have an effect, which signifies a particular ammo mod. You can obviously see that this one is going to be napalm. And then for each one after that, you're going to get a different effect, so what you need to do is kill zombies with that ammo mod attached to your normal weapon because again, you will need a normal bullet-based weapon to actually apply these ammo mods, and for each one, you're going to see something different, so for example, this is what cryofreeze looks like and this is what dead wire looks like.
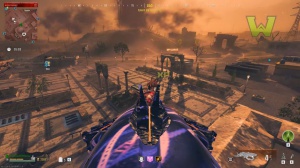
You can see the little electrical symbols, but be careful and don't get mixed up with dead wire and brain rot. I did this a long time ago, the other day. Whenever I was trying this for the first time, if you grab the wrong ammo mod and use it, you are going to be short and ammo mod and you're going to have to fly away with your scorcher, long enough for the mission to cancel now to do so I would suggest just flying across the map and then just simply waiting until it completes, or rather cancels but just make sure that you do this quickly because you only have a limited amount of time you can see on the left I have 23 minutes left.
So here's brain rot. This is the last one. This one kind of just looks like a giant fart. Honestly, it just looks like it's smokey around here, so go ahead and kill zombies within the circle, and as soon as you're done, you will get the mirror. So now you have three items. You have three purple items, all right?
We're going to need to get these golds, and I will show you how in a minute. So once you have all three of those items, what you're going to want to do is make your way over to the main mission. The reason for this is that there is no exit portal, as far as I'm aware, unless you complete the mission.
Main mission

Someone can correct me if I'm wrong, but I would highly suggest that you finish the mission anyway if you're looking for these items because you are going to get your fourth and final item from actually completing all the missions. So let's go through the steps here just so that you have no questions, and especially so that you can do this in the most efficient way possible.
I'm going to show you exactly how to get through these missions. So the first thing that's going to happen is that once you trigger those soldiers to follow you, jump on the ACV, and it will say escort. You're going to go ahead and escort me all the way over to this little fairground area. Now you're going to get stopped.

There is a mimic within this little tower right here. You have to activate it and get attacked by it. It's kind of annoying, but just go ahead and take out your scorcher, or if you have a three-time Pack-a-Punch regular weapon with you, that works as well. Just make sure that you go ahead and kill that monster before you actually continue, and it'll switch right back to escorting.