News - Is The Haymaker A Good Shotgun Warzone 2. Stats & Best Attachment Setups
Barrel breakdowns
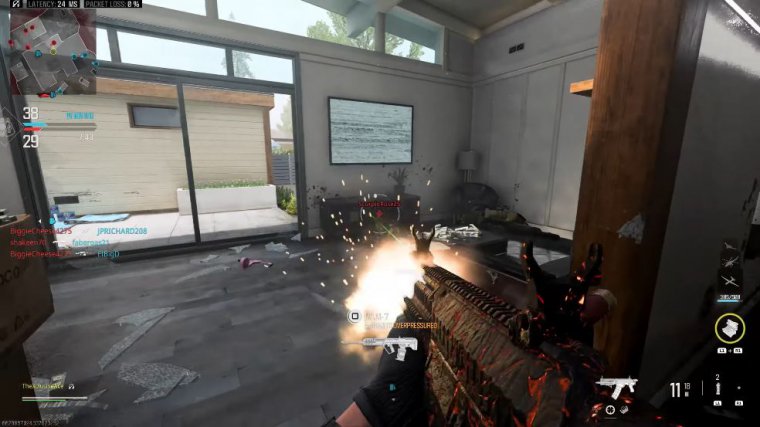
M so it's a little bit shorter on that maximum hit potential but honestly unlike with the loid 680 dragon breath is not a bad option on the Haymaker, now does it suddenly turn the gun into an absolute monster no it'll give you some minor benefits I would say but at least there are some real tangible benefits this time and that wraps it up for the different ammo types now let's move into the barrel attachments and we've only got two barrels for this gun we have a short barrel and a long barrel and when it comes to that short barrel we have a minor reduction to all of our damage ranges but honestly it's not that bad of a reduction, and I wouldn't completely write this Barrel off because it does help a lot with Mobility.
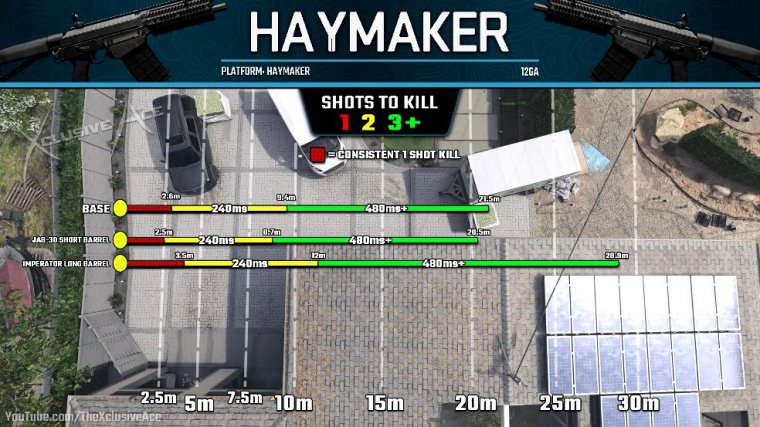
However, if you are trying to maximize that range, the long barrel noticeably improves our one-shot kill potential at 3.5 M. The same thing is true with our two-shot kill potential, which is now 12 M rather than 9.4, so that is noticeable. And then finally, our maximum hit potential is actually really noticeably improved here, up to 28.9.
M now, unlike with the Lockwood 680, your pellet count doesn't change depending on the barrel that you're using; that will always remain 8 pellets no matter what you use on the Haymaker as long as you're using the default ammo type. And when it comes to these barrels, I would just say they're L-optional.
I don't feel the need to use either of these, but they each have their own pros and cons attached to them, so they may suit a particular build that you're using or they may not.
Choke breakdowns
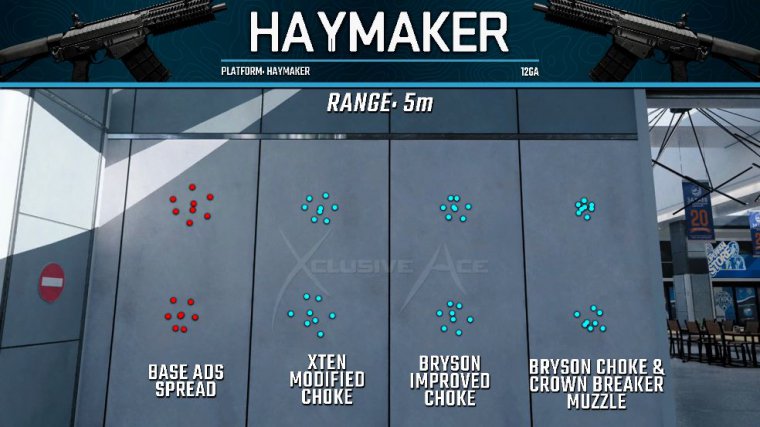
And then finally, let's have a look at the choke attachments since they do have a notable impact on our aim-down sight spread, and we definitely want to try to get a tighter spread, at least for certain builds. And as we can see here, unfortunately, you don't see a massive difference or a massive improvement to your aimed down site spread with chokes outside of the Bryson choke or crown breaker muzzle; those have the same tightening to our aim down sight spread, and while the other ones do help a little bit, it's not quite as noticeable as the Bryson or crown breaker, so those are great options.
Canted laser trick (0 ads spread)
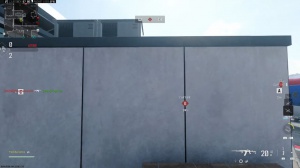
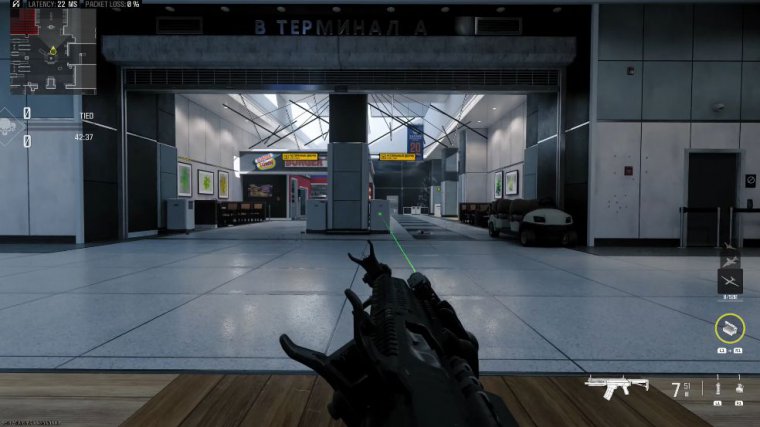
However, there is something else I want to point out with the Haymaker that many people have told me about over the months, and this is the fact that if you use the caned laser, when you aim down sight with that. I know you're not fully aiming down sight, but when you do that with the caned laser, it actually turns your aim down sight spread to zero, which means all eight pellets go in the same spot, and that could be beneficial on certain builds if you want to be stretching your ranges out a little bit beyond your normal effective ranges.
However, of course, there is the key downside to the caned laser, and that is that the laser is always visible, and it is a highly visible laser as well. Another thing I want to mention on the topic of chokes is if you're using a slug.
Haymaker - hipfire build
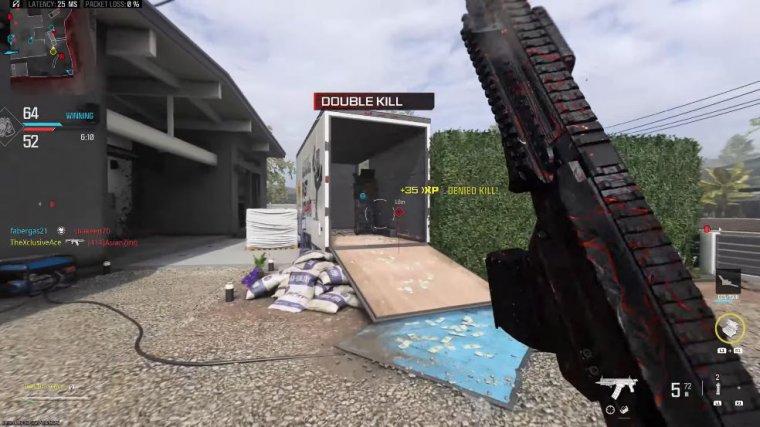
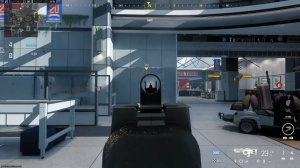
And with that, that pretty much covers it for all of the important stats I wanted to mention. Now we can finally move into some excellent attachment combinations, and the first one I want to share with you guys is honestly my go-to with the Haymaker this is my hipfire build and with this one we pretty much went all in on hipfire, we're using the crownbreaker choke muzzle which gives us a really tight hip fire spread as well as a tight aim down sight spread we've got the Bruin Bastion angle grip The Verdant hook box laser which is a visible laser when in Hip fire if you're sprinting.
This laser won't be appearing, and if you're aiming down, it will also disappear. We're using the no stock mod since that helps a bit with hitfire, but mainly it helps with our mobility as well as our sprint out time and aim down sight time, which is important. And then finally, we're using a 12-round mag just because I don't like having to reload constantly.
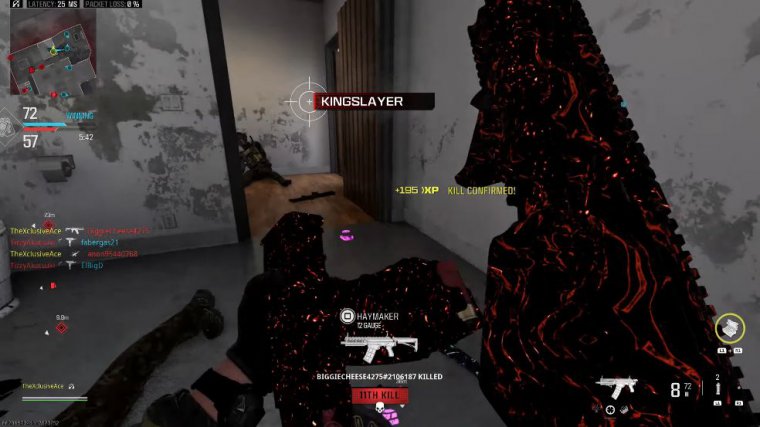
This allows you to deal with quite a few enemies before needing a reload, and with this build, our aim-down sight speed is slightly better, but it's still quite slow at 335 milliseconds. That doesn't matter; we're going to be hit and fired most of the time anyway. Our sprint-out time has improved nicely to 204 milliseconds.
That's still not a really fast sprint-out time, though it's just much better than the base. Our sprint speeds also improved a little bit, so we can get around the map faster, which is great. However, our range values are untouched with this build, and my mindset with this is that this gun lacks consistency in everything.
Haymaker - stealth build
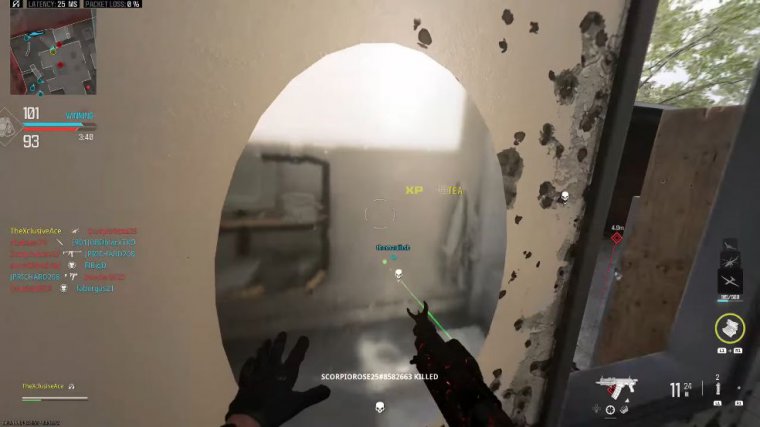
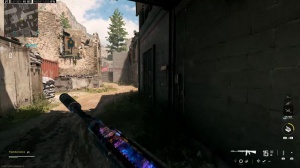
We've got the jab 30 short barrel so we can get around the map a little bit faster we're using the dr6 hand stop to help with aim down sight speed and sprint out time we're once again using the no stock mod so again really focusing on mobility and getting that distance closed as effectively as possible and then finally we're going to wrap this up with the caned vibro do7 laser, which like I said earlier this allows you to aim down sight and get all eight pellets going in the exact same spot which is just a nice benefit honestly I do hip fire a lot with this build as well it's just if you need that really tight aim down sight spread you've got that at your fingertips.

And with this one we're noticeably improving our aim down sight speed our Sprint out speed though is very fast compared to the base at just 152, milliseconds that's one of the big upsides with this gun is you can Sprint into a gunfight and use that to close distances better while still getting your shot off nice and quickly, our Sprint speed's also really good with this at 5.9 m/s, so you're getting around the map very quickly and we're also off the radar when we're firing so it's excellent for getting in toward the enemy spawn and just sort of wreaking havoc and they don't really know what's going on now one thing to keep in mind is we are reducing our range potential a little bit with this gun but that is a trade-off I'm willing to make with this build because I'm able to close those distances a lot faster since I'm leaning into mobility.
And I'm also able to get those shots off significantly faster coming out of a sprint, and that just makes for a nice, well-rounded performance.

 PREVIOUS Page
