News - How To Abuse Aim Assist With 5 Easy Tips Warzone 2
War Zone players obviously want to tend towards it; they want to be a little bit more aware that it's a battle royale. You're in and out of builds and things like that, but you really want to find your balance. If you're in War Zone, do what you need to do, but for multiplayer gamers and MW3 rank-play gamers. Get to 100 and either go up or down up to five either way, which I'd say is a nice little mix for you guys to have.
Other settings & final thoughts
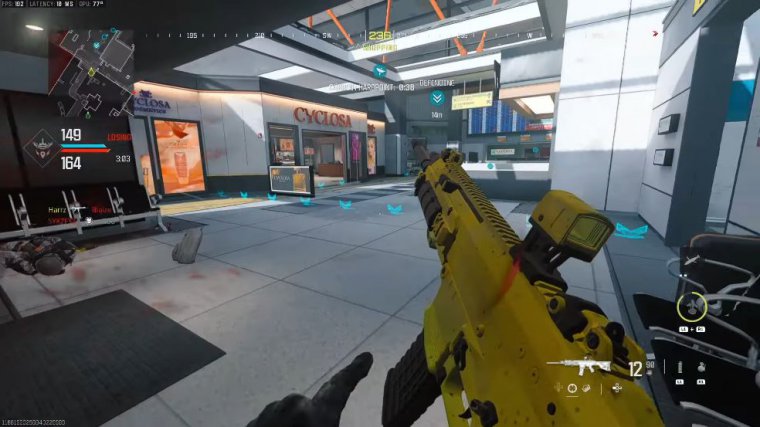
Now let's take a look at a couple of settings that can help you abuse your aim even further. First things first, you want to make sure that your aim assist type is either Black Ops or Standard.
The difference between the two is as follows: So Black Ops is a little bit more sticky than standard AIST. However, the downside to this is the fact that if you're dealing with two players at once, if you have two players literally running straight ahead at you, sometimes you can feel that your aim gets stuck in between both players, and you can't really transfer from one to the other quite as easily.
That's because of how sticky it is. Black Ops is an assist, so if you feel like this is a situation where you get into a lot where you're dealing with two enemies at once, maybe try standard because it's going to be a little bit more forgiven in those sorts of situations, but if you want a relatively stickier aim assist.
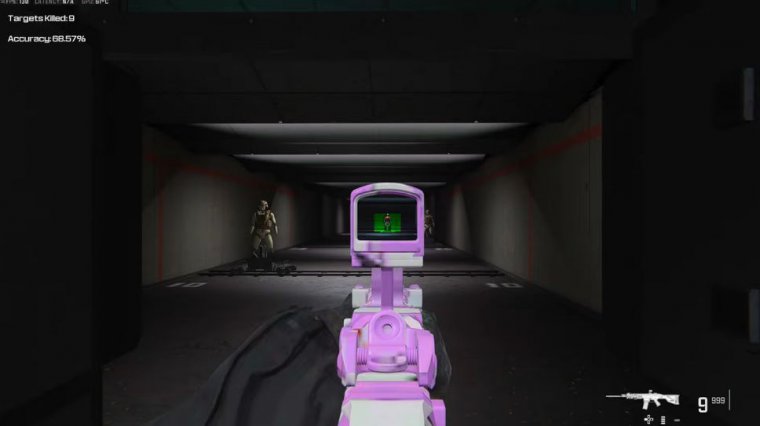
Black Ops is the one you're going to want to pick. And when we look at the aim response curve type, this is how your input transfers into how you turn in the game, so if you do this, it basically determines how much of your right stick needs to move in order to impact how much your player rotates in the game.
Now people are playing Dynamic, and this is what I would also advise doing, and the reason for that is because it enables you to make very fast moves, so if you jam your right stick all the way to the right, it's going to, and the game is going to know because it's Dynamic that you want to zoom to the right quite quickly over when you make really small micro adjustments with your right stick.
Dynamic is also going to know this and know that it doesn't want to increase your Zoom quite as much as it would if you were yanking it, so it's a nice mix of both. Being maneuverable and being able to accommodate 180 people, with the added benefit of being able to make micro adjustments fairly easily, now we look at things like the ad sensitivity multiplier, and dead now.
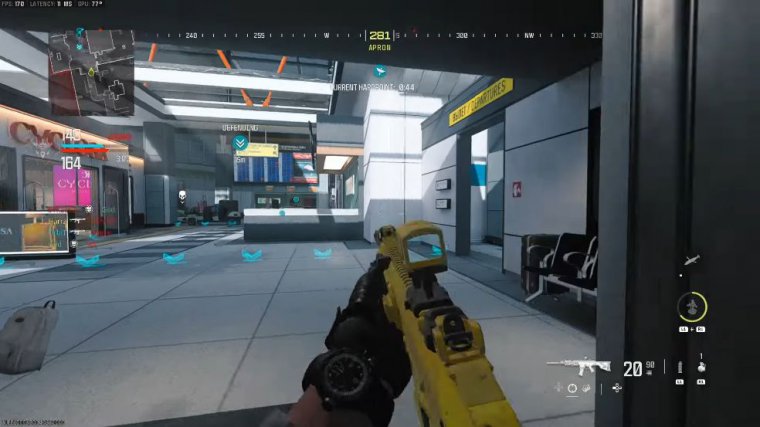
I could mention this in a bunch of articles, so I'm going to reiterate this fairly quickly. But you want your general sensitivity to be anywhere between four. And I would suggest seven, maybe eight, at a push, and the reason for that is that you want your centum to be on half of aiming, which is centering.
You don't want to aim in and then have to adjust your aim. You want your centering to be where the enemy is going to be, and as a result, you don't want your sensitivity to be too high. Now if you are playing on that higher end of your sensitivity, maybe seven or eight, but you do feel like when you're aiming, your sensitivity is a little bit too high, and you want to reduce that and maintain a more accurate reading.
Shooting pattern, then you want to reduce your ad sensitivity multiplier, which you can do in your settings. Personally, my sensitivity is 77. I play with {565} multipliers so that I'm able to maneuver relatively quickly around the map, but also when I'm an ad, I'm locked in, and I can shoot my gun fairly straight.
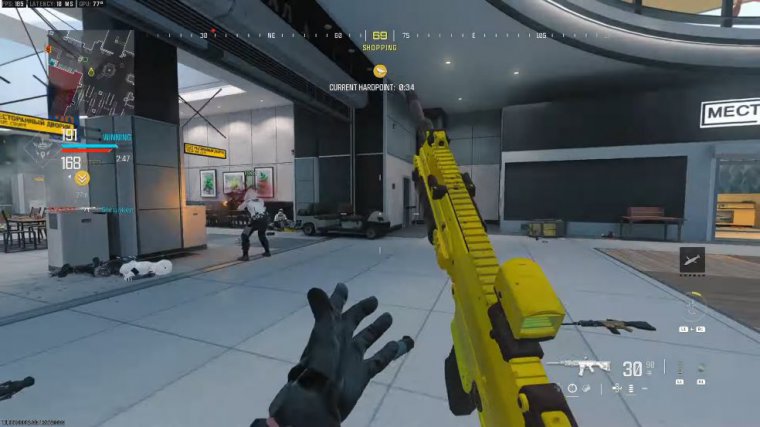
Finally, we're going to look at dead zones here. Dead zones are in your controller settings, and you want to make sure there's a nice new stick drift test in the game now that you can use and utilize. So you turn that on and just play around with your stick. Flick your stick right or left, and it should go back to zero if it doesn't increase your dead zone, but you want the dead zone to be as low as possible.
So that the game can recognize your responses on your controller as quickly as possible. Until you get to the point where you're aimless, the Dead Zone stick test is over, and you're getting anomalies that are throwing you off of zero. In short, you want your dead zones to be as small as possible without stick drift, so that's pretty much going to do for today's article.
I hope you liked it. Obviously. For now, one of the most.

 PREVIOUS Page
