News - Easy Red Worm Boss Fight Guide Solo. Warzone 2 Zombies
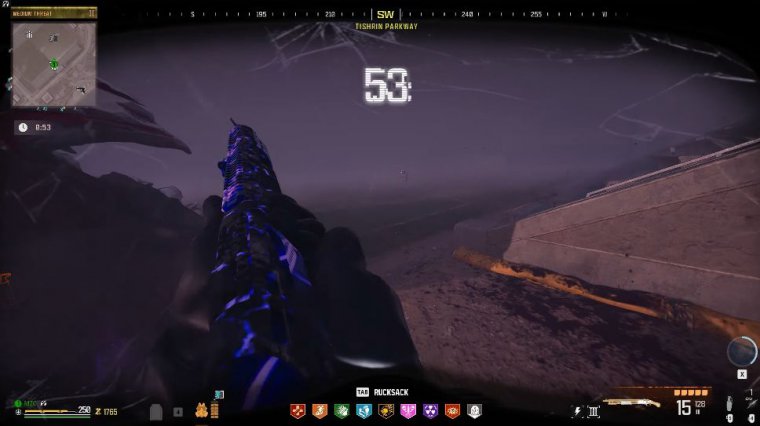
In this article, I'll be giving you the best guide to defeating the redworm or grym boss, fighting Solo, or with your friends inside of Modern Warfare 3 zombies. This guide will include all of the possible USB and boss fight locations, the best loadout to run when going up against the red worm, and tips and tricks to make this go as smoothly as possible.
Let's get into the guide. First things first, we're going to be going over the best loadout that you want to run in order to defeat the boss as efficiently as possible, starting with the weapon I'd suggest running and the build for it. With the recent patch as of December 14th, the SVA assault rifle is no longer The main gun in MW3 Zombies, and by far the best gun in the game overall, is the Lockwood 680 shotgun.
This has always been one of the better guns in the game since launch, but with the release of season 1, it got even better with a little bit of a buff that went unnoticed until very recently. This lock would absolutely Rex zombie special enemies and ether worms if you got this thing to Triple Pack-a-Punch with a legendary variant.
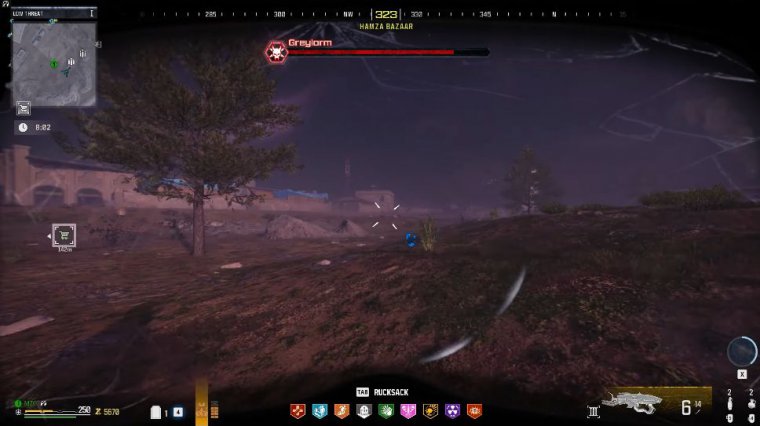
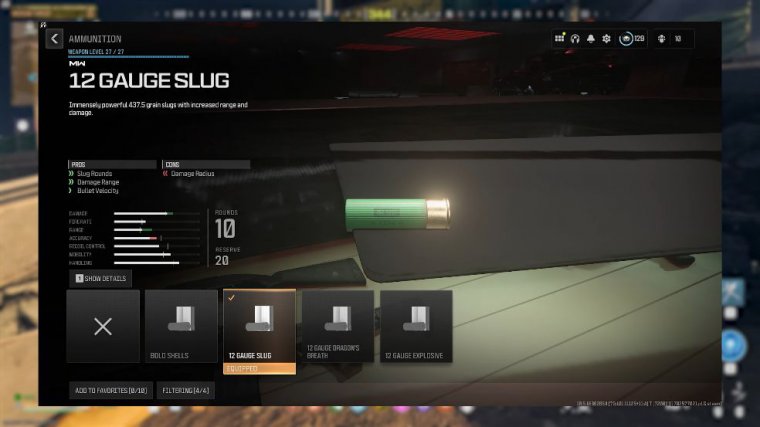
The attachments I would specifically run to make the Lockwood hit its full potential are the crownbreaker choke muzzle to increase the hip fire and attack Dan spread as well as giving you tighter pellet spread for the Lockwood Barrel Defender, which significantly increases your ammo capacity, recoil control, aiming stability, and bullet velocity; 12 gauge slugs, which increase the damage range and bullet velocity; the express lightning bolt, which decreases the time it takes in between shots; and lastly, the saw-off mod, which gives you a massive boost to your sprint to fire time movement speed and aim walking movement speed.
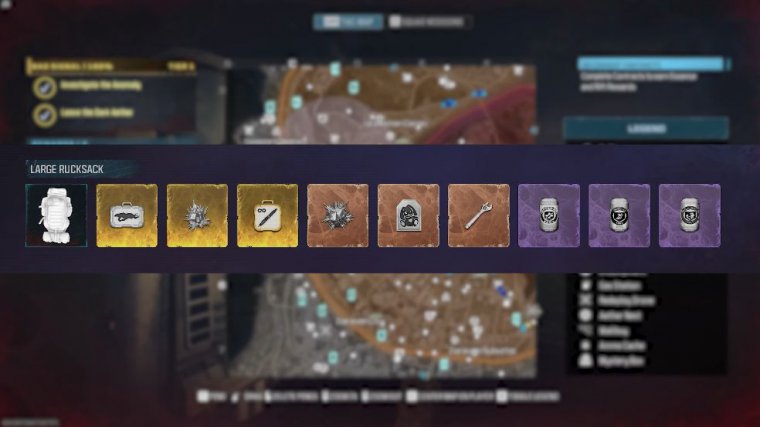
As well as your aimed-out sight's time, once you have the Lockwood build set, we can move on to the remainder of your loadout. I would highly suggest running a setup game before you attempt to fight the worms so that you can get yourself a large rock sack, a three-plate vest, a sentury turret, a durable gas mask, and a self-reset so you don't have to waste your time or money going for them during your main run.
I would also highly recommend bringing in the golden armor plates and ether blade, which can be found in the dark ether. The Ether Blade will always hit zombies, which is super useful during the boss fight, and the golden armor plates will allow you to regenerate armor plates every 3 to 4 seconds.
The golden armor plates are really necessary if you want to beat the boss solo because, without them, you'll be a damage sponge and not have enough time to focus on killing the worm itself. If you haven't gotten to the dark ether and you want an in-depth guide on how to do so, check out the season 1 super guide.
Crystal's legendary ether tool Jugger, knock stamina up, and Quick Revive will allow you to run into either tier 2 or tier 3 right away to begin smashing out contracts for Essence to purchase the remainder of your perolas. Pack-a-Punch upgrade and self-revive from the buy station, which we'll touch on later.
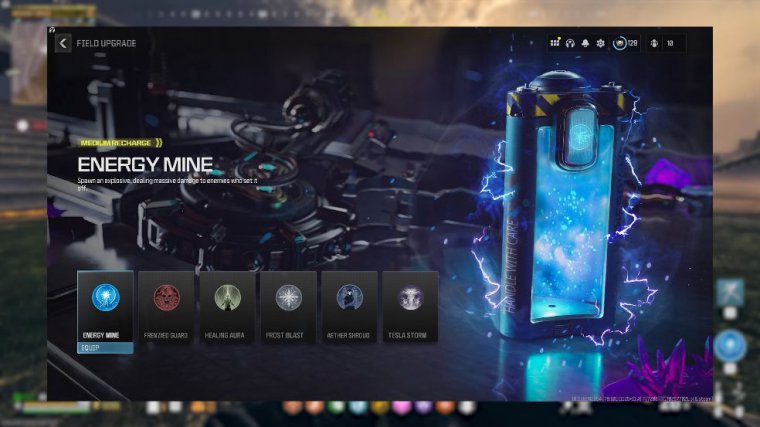
After rounding out the rest of your load, I would equip the experiment. The gas grenade is your tactical slot because it slowly damages the worm when thrown at it and can be replenished by hitting the ammo boxes near the boss fight area. Last but not least, I would run the energy mine upgrade because it has a pretty fast recharge on it and will be used to kill zombies and elite bosses that spawn during the worm.
Now that the loadout's out of the way, let's get into how to find the USBs. To get the boss to spawn as well as make in-game purchases you need to make in preparation for the boss fight, once you're loaded into a game, you're going to immediately want to find where the worm boss fight is inside of your game.
There are four spots where the boss fight area will spawn, and each is around the area where the storm will start. You can easily tell where it is by finding two ammo crates that are beside each other in those specific areas of the map, if the storm isn't right next to the boss fight location. I would suggest X filling and getting in another game where the storm also bumps up against the boss fight area because you'll need all the time that you can get to fight the worm, especially if you're doing this in Solo, but if you do feel comfortable enough with where the storm is in relation to the boss fight area, you can now make your way to one of three different buildings around the map that will have the locations for the four USB towers you'll need to collect to get the worm to spawn on screen now is every location that the pictures, boss fight area and USB.
Can spawn in massive shout out to mwz. Hub for creating this interactive map that you're seeing now. Once you're at the building with the pictures in it, take note of where the USB locations are in your game and start traversing the map to get them collected as quickly as possible. You need all four different USBs in order to get the worm to spawn, so make sure you don't miss any.
Once all four USBs are collected, I would highly suggest doing contracts in Tier 2 and Tier 3 as soon as possible so you can start to get your weapon to Triple Pack-a-Punch. If it isn't already all of your perks bot and stocked up on as many self-revivals as possible. I'd like to think I'm pretty decent at the game, but when I beat this solo.
I went through about four self-revivals, so the more you have, the better. I would also purchase a sentury turret or two to take care of some of the zombies that'll spawn, but honestly, they won't do very much for you once you're all stocked up and ready to go. Make your way to the boss fight area and locate the four ether refractors.
Wait until the 45-minute mark, when the timer hits zero, and the storm will begin to move in. As the storm crosses over the refractors, you'll be able to input the USBs into each of them. After all four USBs are placed, it'll take about 30 seconds for the worm to pop up out of the ground. During this time, I would suggest running to the nearest station if one is close enough and purchasing more self-revivals with the four slots that become free after you place the USBs down.
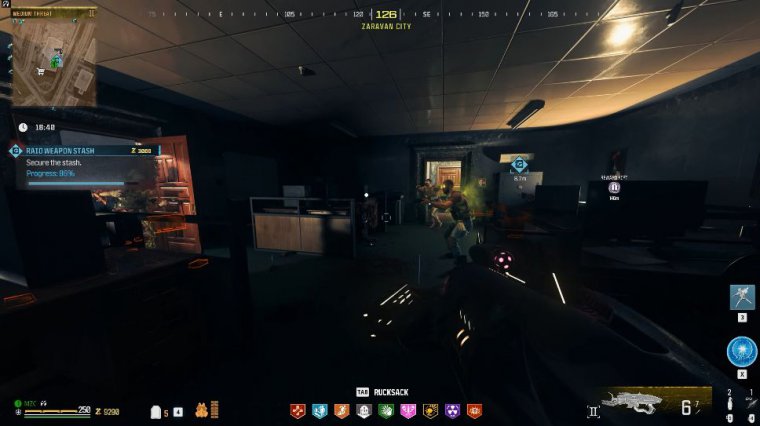
Once the gritty Larn makes his grand entrance, you have the remainder of the game to take him out while you're fighting him. Tier three zombies and bosses will spawn, so make sure to remember to pop your energy mind every time it becomes available because these will take out anything that's around you in one or two hits.
Additionally, the worm will periodically spit out four purple orbs that will track you and tick you for damage while also giving health back to the worm each time they connect with you, so make sure you're focusing on these as soon as you see them. When you have the opportunity, fire away and throw your gas grenades at the worm's red spots to damage him and remove his shield's health and overall health.


