News - Warzone 2. 0: Best Settings For Fps Boost On Any Pc
Amazing intro
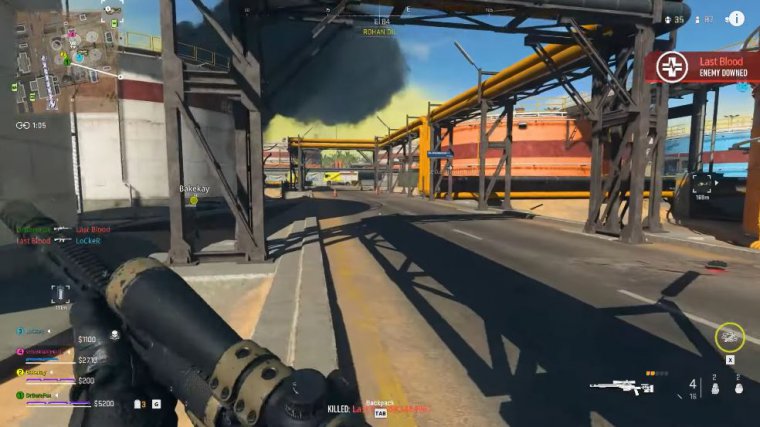
Bearfox here, and welcome back to another brand new article. In today's article, I'm going to be showing you guys how you can get better fps, improve your performance, and get better quality gaming in Call of Duty: Warzone, 2.0. With all that said, let's get started.
Essential windows settings
All Right Step Number One is the essential window settings, and for that, you have to go into Settings now.
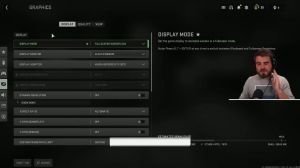
Once you are here, Go into the display section, then scroll all the way down until you find Advanced display, and over here, set your refresh rate to the maximum rate possible. Once it is done, select Keep Changes. Go back to display, then scroll all the way down and go to graphics. Once you're here, go to browse and then go into the install location of Warzone 2.0, and you will find {90} over here.
Simply click on "add," and once it is added, go to "options," select "high performance," and then hit "save." search for game mode Make sure that game mode is enabled; this will optimize your PC by turning off the apps being utilized in the background. Then go to the Windows Update section, then go to Advanced Options. Go to delivery optimization and make sure to turn off allowing downloads from other PCs; once it is done, close your settings and let's move to step number two, which is the article control panel settings.
Nvidia control panel settings

Make sure that if you have an AMD graphics card, you follow the similar settings for it. Right-click on any empty area of your desktop, go to "Show more options," Select the Nvidia control panel, go to "Adjust image settings with preview," use the advanced 3D image settings, and then go to "Manage 3D settings." Copy all of the same settings that I have applied over here: Once you've applied all of these settings.
To adjust article color settings, select Nvidia settings and then go to Advanced dynamic range. Most of you will have it set to "limited." Go with "full." Once it is done, you can close the Nvidia control panel, settings Step number three is system configuration.
System configuration
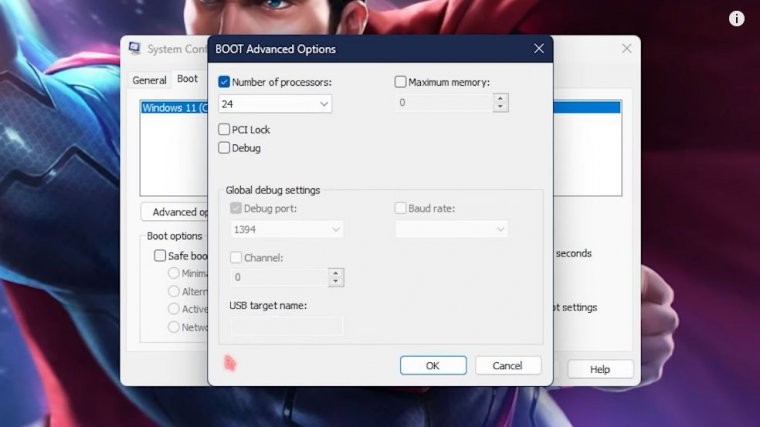
Simply search for "system configuration," then go to the boot section and go to advanced options.
the number of processors and choose the maximum number of processors available on your computer, then click OK, then click Apply.
Adjust appearance of windows
Step Number four is "adjust appearance" for Windows. Simply search for "adjust the appearance and performance of Windows." select edges for best performance, then click on "show thumbnails" instead of icons, and "smooth edges of screen fonts," then simply click on "apply." Just by doing this step, you can see significant changes and improvements in.
Exitlag (network fix)
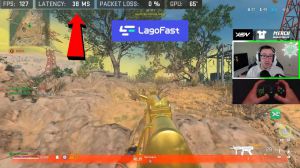
Your computer Step number five is exit lag. Exit lag will help you in most cases with fixing all of your internet and FPS issues. Click on "Get Exit Lag" and "Get Exit Lag for Three Days Free." Once you have installed an open exit lag, make sure that exit lag is running. Click on this button until it's red.
Then, you will find a list over here, Search for "Call of Duty Modern," "Warfare 2," or "Warzone 2.0"; click on it for the game region. Select the region near you; these are automatic selections, but if you know your region, you can scroll all the way down for Asia; you can go to Dubai 01 or Singapore 01, respectively.
For me, I'll go to Singapore-01, which will give you the lowest estimated ping over here. Simply click on "apply," and then version 2.0 will be added. The best part of this application is the tools section over here. Go to FPS boost and enable the first, third, and fourth options, and the second-to-last option, then close exit lag.
In most cases, this will fix all of your internet and FPS issues on its own. Once again, exit lag is not free to use, and you have to get a subscription for it.
Create a restore point

Step number six is to create a register point and to do the assembly search for creating a restore point once you are in system protection. Choose your local disk C or any drive; it says system then.
Warzone 2.0 fps pack
Step number seven is downloading the FPS pack. Simply download and open this thing up, and you will find it in four folders, the first of which is registry optimization, and you will find in a few files over here that you.
You have to simply right-click and show more options, and then merge all of these files on your computer. If the merge option is not showing on your computer, you can simply double-click and run it. If you are curious about what these files are changing, you can simply right-click, go to "show more options," click on "edit," then "run," and see what are the things that it is going to change on your computer.
Once again, all of these files are useful, so make sure to run them all. Then there is low-to-mid-end and mid-to-high-end optimization. If you have a computer with a lower-end graphics card, use low- to mid-level optimization; if you have a high-end graphics card, you can use high-level optimization.
If you are unsatisfied with all of these optimizations. I've always left the default registry in here; you can re-enable and reset all of those back to normal, then going to the second folder, which is the power option, in here you will find the ultimate power plant; you can simply copy this string over here.
Search for "CMD" and then run this as administrator, then simply press Ctrl V and paste this code over here and press enter. I've already done it for myself, so I'm not going to do it again. It is done. Open up the control panel, then search for power options once you are here. Select the ultimate performance power plan as this will utilize.
More energy on your computer will give you much better performance, but once again, if you are on a laptop. Your laptop then goes into the third folder, which is the RAM optimization folder, and I have left a lot of presets in here; simply select the RAM you are using on your computer, and if you don't know about it, simply search for system information.
Over here, see the installation of physical memory on your computer; for me, it is 16 GB, so I have a 16 GB RAM resistor over here; over here, you can select whatever RAM you have from this list once you are done. Go back to the fourth folder, which is the MSI utility V3.0. You can simply right-click and run this as administrator or else you will get an error, but once you're over here and you're looking for your graphics card, for me it is right here, and you have to go and, from inter priority, change it from undefined to high and then click on apply, and that is going to use your graphics card more efficiently then.


