News - Warzone 2 Zombies - The Best Assault Rifle For Season 2. Easy Tier 3 Solo Strategy
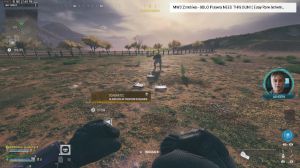
He's going to hit us with that laser attack, but he can't actually hit us while he's up there. There we go, got some ammo, now we can get up there nice, there we go, Mega Abomination is Right Here, let set those critical on him. Come on, so close to dying, man, he's so close. And just a few more shots, and there we go.

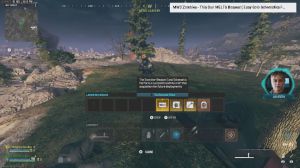
We got the kill quick and easy; the only issue we had was ammo. But yeah, I'll try to remember to just pick ammo up more often. If I get an air strike off that, which I'll take, a napon burst might as well throw it on since we don't have an ammo mod. There are no more Bounty contracts in the Tier 3 Zone, okay, so I'm going to head over to the buy station real quick just to buy an extra self-revive, and then we'll make our way over to the Tier 5 Zone, and there we go.
I'll also get a large bag just so I have that for the next time I load in so I can take everything out of my Tombstone. Beautiful mega-abomination is right there. Nice, let's quickly kill that disci. Just look at how quickly we're killing that disciple, man. There we go, already deader. That blade backs up a little bit again.

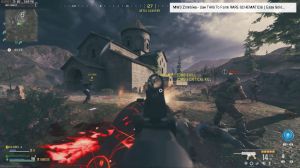
There we go. Let's keep hitting those critical shots. The laser attack coming in there, we go one face destroyed, get that reload. Nice, let's keep lighting him up it's the fire rate on this thing too it's got that high damage output and a high fire rate as well so we're just ripping through everything man definitely a great gun, mega Abomination is about a quarter we dead, let light this Mangler up just look at The Mangler heire, already halfway just from those few shots let's get a bit closer to him there we go Mangler is almost dead and The Mangler is dead wakened easy had no issues taking that guy out set those criticals got to throw that nice got an invite from the schematic winner, which is good so I'll go drop the schematics for him right after this game Let's back up a little bit throw that blade he's got about a quarter of his health bar left bit more than that.

There we go at a quarter now beautiful, let's back up get some distance from this guy there we go hit those criticals, man he's so close to dying let's quickly get on this green car that's going to get him to charge at us and he should hit us with a laser attack there we go beautiful works every time, now we just focus on that final face, yeah just look at that fire rate man and it doesn't move like there's no recoil on this gun, just look at that I'm loving this thing man let's pick up some ammo here should be some more ammo back here from the zombies we killed earlier there we go.
Nice, beautiful now let's focus on this guy again. Hit those critical points. He is so close to dying, man. There we go. Come on, hit us with that laser attack, Mega, and he's doing it, Beautiful. Quick and easy, I got some Essence off that Casmir, and that's it. Okay, nothing too fancy off that Mega, so once you get past that part there, if you're just going for schematics.
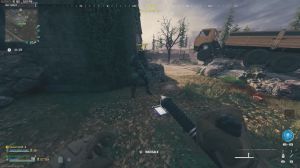
I wouldn't recommend fighting off that Mega just so you have as much time as possible. But yeah, just run in this direction, and the first contract is right up there. As you can see, there's a Mega there and a Mangler, so just get on this wall, jump into this window, and break the glass right here.

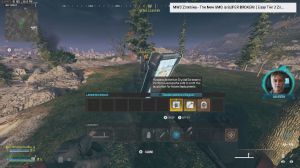
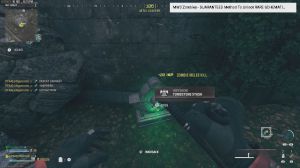
And just climb up this ladder. Pick up the contract and avoid those Elite zombies. Just jump to this side of the building. And from here, you can just run up to this zip-up ahead. The first extractor is going to be right up here, and there's going to be a bunch of zombies and also one or two Elite zombies.
So that's why we bring Casmir with us. We can just throw a Casmir right here that's going to pull in all the zombies it's going to do some damage from the zombies as well but more importantly it's going to let us just disable the extractor, without any issues so once you get that one disabled, keep running South in this direction here you can run on the wall as well that's going to help you not take damage from the zombies to your left and to your right once you're at this part here throw a Casmir at that wall that's going to bounce off and land right at the extractor.
You might have a couple zombies on the stairs, but it shouldn't be anything too bad. Once you get up here again, you can just disable the extractor. No issue at all once you get that one. Run west towards this ladder, climb up, and get on this wall. If you have an extra Casmir, throw it at the extractor.

That's going to bounce off and kill all the zombies here, since we only have two. We're just going to, you know, go with the traditional method of frying the zombies, so let's quickly get that done. We'll also use our energy mine field upgrade. There we go. It's going to help out a bunch, which is nice, and we can just disable this; we shouldn't have any more zombies coming in.
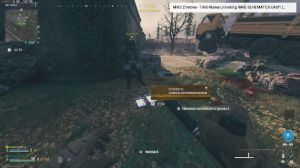
I got one right there, but as you can see, there's no issue, so once that blows up, that's going to be contract complete. See what we get from this? If we can actually hit the reward, RI, let's kill these zombies real quick. There we go, getting the prompt. Okay, so we got an Aether blade case, which I'll take, and a refined crystal, which I think I'll leave in there; that's like 20 grand.

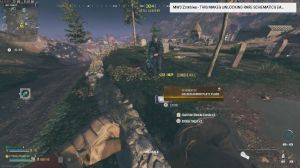
Yeah, we'll leave that in there; maybe we'll get something better, but I definitely don't want to drop that extra self-revive or the large bag. But yeah, once you complete that contract, just jump down to this side, where you'll find this green bus, and that's where you get the Outlast contract. So once you accept that, run over to this corner here; there's going to be a zip that you want to go up.
Run through this door here and take a left in this building, and this is where you find the P&D, so just get this thing activated and stay in this room. There's really not much to it. If you have extra Casmir, be sure to use those; they're definitely going to help out with this contract. The energy mine field upgrade also helps out because, as you can see, there's a ton of zombies that spawn during this contract, and that's just going to get a bunch of kills for you, so yeah, not much to it.

Complete, and contract is complete that's going to kill most of the zombies you might still have one or two left alive also an elite, but yeah we only have this mimic and a few zombies we also have a disciple further back so let's quickly focus on that guy try to take him out let's get that reload, our blade, there we go let's hit the arm of the disciple just stop him from healing we're going to have to back up here let's use that energy mine field upgrade real quick there we go now we turned the disciple all good all good so we got the golden plate plans and a dog bone which I am not going to take we already have the plate plans so we're all good, so yeah great against groups of zombies great against Bounty targets great against Elite zombies just overall a great assault rifle.