News - Warzone 2 Zombies - Best Strategy To Unlock Rare Schematics. Easy Solo Schematics Farming

My name's Hypnos, and welcome to a brand new MWZ article. For those of you who don't know, I make daily zombie articles, and in doing so, I come across rare schematics all the time. Since I have them all unlocked already, the best thing I can do is give them away to you guys. The winner of the golden plate dog bone ether blade and flawless ethereum crystal schematic is Matthew Hall, so congratulations.
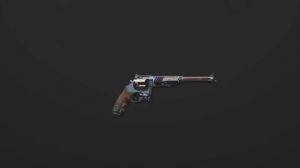
I sent you a friend request. Go ahead and accept that, and hit me up whenever you're free. For those of you who still need the schematics, don't worry. Someone by the name of banana 30 said he'd like to see me use the striker 9 and also the Brew and MK9. Now for today, we'll be checking out the striker 99, but we will also review the Brun MK9 in the near future, as quite a few of you guys have been suggesting it before we get into the build we're using for the striker.
I just want to take a moment to thank Mitch Coctus for sponsoring this article. If you're interested in unlocking the interstellar and Borealis Mastery camos, or if you just want to play in easier lobbies to quickly level up your weapons and unlock camos, or if you're a zombies player, just interested in unlocking all the schematics, go ahead and check out Mitch Cactus.

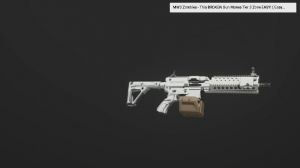
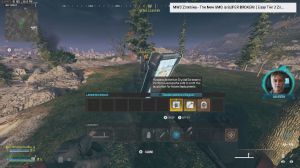
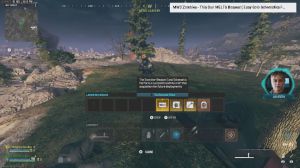
They have over 10,000 reviews on their Trustpilot page and are the safest and most professional Call of Duty service out there. Be sure to use my code Hypno for 5% off. So this is the build we're using for the Striker 9. We're using the attack grip rear grip for increased ad speed and sprint to fire speed.
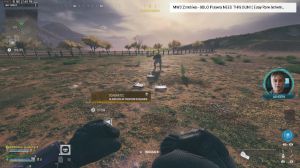
We're running this bad boy stockless for a huge boost to overall mobility. The striker Recon long barrel for increased bullet velocity and range of 9 mm over pressured rounds for a bit of increased headshot damage, and last but not least, we're using the 50-round drum mag. All right Boys, so we made it to Tier 3 Zone.
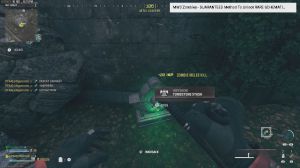
We got the striker 9 for pack 3, and as you can see here, we have a bunch of zombies behind us, so let's see how quickly we can take out this group using the striker. 9 okay, yeah, definitely. It does a lot of damage. Just look at that man, especially once you have Deadshot air, and you can just kind of spam your aim button and hold down that shoot button to keep getting all those critical hits.

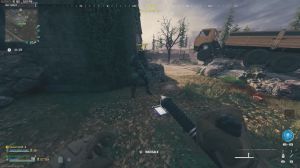
This thing is insane. All right, so there is a bounty contract right back there. It looks like there's a couple people kind of going in that direction, not sure if they're going to pick it up or not. But let's see if we can beat them to it. And there we go; we got the Bounty contract, an absolute ton of zombies behind us; let's take those boys out, and we got a mega Abomination is our target, perfect; it's my favorite target for the Bounty contracts.
Let's go yeah, so this thing is absolutely insane, man. Just look at that, and it doesn't move either. Look at that; there's no recoil on this thing. None at all; this gun is great. I can't wait to fight that Mega, and there we go. We got the Mega Abomination. Right up ahead, start hitting those critical shots.
Take out some of these zombies here too, all right? So we don't have Instagram anymore either, so we won't be doing an insane amount of damage, so see how this thing performs. Start lighting that guy up there, and we go. He's got that glowing face; one of his faces is already destroyed, thanks to the Instagram kill that we had.

All right, let's keep lighting this guy up. There we go. He's going to charge at us. Let's skip down this wall, nice, and he's going to hit us with that laser attack, which is perfect, so we can get those critical hits in. Very nice two of his faces are destroyed. One more to go, and then we'll have to kill him.
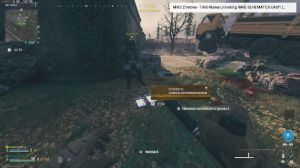
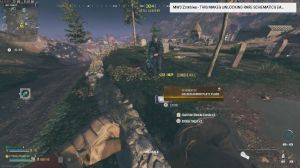
His health bar is about halfway there. So yeah, damage output on this thing is 10 on 10. Mobility is going to be a 10 on 10 too; of course, it's an SMG. Reload speed is really important. Good, all right, a few more critical hits very nice, great for groups of zombies, great for roaming Elites, and as you can see insane for Bounty, contracts, there we go, let's hit those criticals, nice take out of these zombies here backto back laser attack, that's what we like to see, there we go, get those free criticals in and contract complete quick and easy, let's pick up that precision, dropped a raw crystal, and an extra self-revive rare tool, sigil mortar strike, very nice.

All right So there's no more Bounty contracts in the Tier 3 zone, so I think we'll make our way over to the Tier 5 zone. See how this thing performs there, and there we go, making it to the portal. Zone, and there we go. We made it to Tier 5. Zone got the mega Abomination up ahead; start lighting that guy up with these hellhounds here too, all right, so it's hitting us with that laser attack, which is perfect.
Let's just get that reload and get those critical hits in. He took off almost a quarter of his health bar already, so yeah, damage output is a 10 on 10 for this gun, for sure. Absolutely, insane try not to get trapped down there. Let's come back here. Nice, hit those critical shots on the Mega.
We have this mimic on us now too. See how quickly we take out the mimics—about halfway already. My, man, this thing's crazy. There we go, a laser attack coming in. No, ah, now it is nice. All right, all right. Let's hit those shots. We're missing the criticals. We can hit them on this side, though.

He's got about a quarter of his health bar left. Let's hit those critical shots again. We have the zombie tower left, and we also have a disciple back there, which we'll definitely have to take out soon. Let's just quickly look for some ammo; there's some right here. All right let's kill this guy.
There we go. Back up a little bit. Hopefully the mega hits us with another laser attack here soon, just so we can finish this guy off. Yeah, it's been a while since we've used a gun that kills Mega that quick here in the Tier 5 zone, so this thing is definitely really good. There we go, disciples.
About halfway, let's back up a bit. I got a mangler on us now too. There we go. Let's quickly jump the wall. Nice let's hit a few shots on the disciple. There we go. The disciples are dead. Back up a little bit. Get a few more shots on that, Mega. We just need this guy to hit us with one more laser.

I have another disciple right here. There we go. Nice, that disciple's about halfway dead; then we still have that mangler we have to kill. Let's actually focus on that guy. Actually, no, there we go. Ah, we missed out on the laser attack, and we got downed no way. All right, let's get that reload.
Come back here and start hitting that Mega again. We're out of ammo, no way. Okay, let's pick some up back here. There should be some there. Nice kill; that guy missed out on a few critical hits. It's all good, though. Let's come back here. There we go. Come on, Mega, hit us with that laser.