News - Updated S1 Method" How To Get The Ray Gun Schematic And Rare Items Call Of Duty Warzone 2 Zombies
And then you're going to go straight back to your vehicle. And get out of there, refilling your ammo. One is going to refill your durable mask, which is helpful for me just because the storm is where I finish a contract, and it will also give me more decoy grenades, which will make this a whole lot easier.
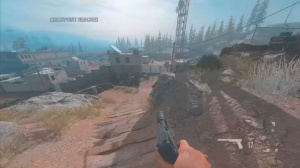
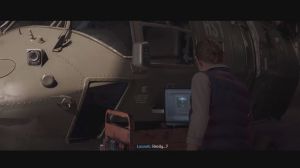
You're then going to drive all the way up to this shack, which I'll try to show you on the map right here, H5, and you're going to hop out of your vehicle. You need to be a little quick here, and those three symbols—the L and triangle—you will need to shoot those, so there's u, l, and triangle.

Hold square, and it's going to fast-travel you all the way back up to this tower. So now that we're up here or we're going to be looking for, like I was saying earlier, one of those three contracts, so we're looking for the tank contract to appear here or we're going to be waiting for the spores contract to appear in this area, this is a little bit of a waiting game.
I've seen it take anywhere from instantly to about 3 or 4 minutes. So once you guys get up here, if one of those contracts hasn't appeared yet, just wait out for a little bit, and eventually it should appear. All right, guys, so we're going to pick the article back up here. Here is a prime example of how they ended up changing this whole method.
So I was sitting here waiting for the Spore contract or the tank contract to appear, and it just never did after about 3 or 4 minutes, and that is what they did to change this whole method. Usually it'll be on a rotation between those three, but every now and then you will get the issue where even then it is still not appearing.

So if you guys ever run into that problem and you're just like waiting forever and you're thinking to yourself that this contract's never appearing, just anything in the area, just go through and grab them and then cancel them instantly. So I grabbed the Outlast, canceled it, and just like that, the delivery cargo contract is back for me.
So that is the big difference from the original method, which was always on a constant rotation. So yeah, guys, like I was saying, though this method is still extremely viable and easy to do, the only issue is that they've made the delivery cargo contract in a trickier area to grab, so you do have to be a little bit more careful because it's a tight corridor, and it's not a guaranteed rotation between the tank contract and the delivery cargo contract like it used to be.

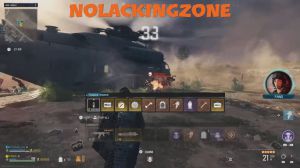
Now what you are going to have to do is just go through the same exact motions that we were doing before, but you're going to have to grab other contracts in the area when they're not appearing and just cancel them over and over again, so we'll go ahead and grab this. Hopefully this disciple doesn't kill me; we got a purple tool there, which is awesome, and I don't know if you guys noticed in the last reward I got that I actually did get the elemental pop schematic, which is awesome; I already had it, but that is one of the benefits you can get from doing this challenge.

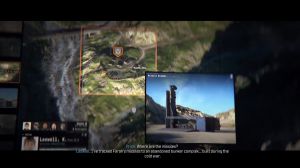
You can get a few of these other schematics; it's not just the ray gun. Obviously, the ray gun is exactly what you guys are looking for, but it's not the only thing that you can get from doing this method. So from here. I'll go ahead and do another loop we're just going to be doing the exact same thing guys we're going to stop here at this station, we're going to refill our ammo straight back to the vehicle, up to the shack and we're going to fast travel up to the tower, and just continue to do this over and over and over again I do have one more area I want to show you guys it's technically a new safe Zone because the old safe Zone that we used to have does not work like it used to so let me go ahead we're going to travel up to the top of this Tower again all right guys well I actually just traveled all the way up here and the Spore contract.
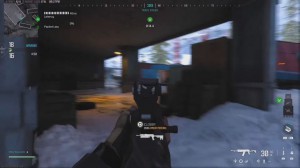
Had it appeared, this is typically what you're going to see now, so this is going to be similar to how it was with the tank contract. All we're going to do is we're going to fly to this spot contract, we're going to grab it, and then we are going to get out of the area. This is going to be the standard rotation; this is what I'm seeing happen most of the time; it's going to go between the tank contract and the Spore contract and the deliver cargo contract; this is not a guarantee, like the tank contract was, which is a little bit unfortunate, but it still does work because the same exact method and idea are in place, so you'll see.

I almost went down there, which is why it's extremely important to have stamina up and Juggernog; without those. I probably would have gone down, but I also wasn't playing as careful as I could, so make sure you guys grab that Spore contract; you're going to cancel it like you do the delivery. I mean, like, you do the tank contract.
You're going to follow the exact route I take here, and you're going to go up this ladder. So previously that roof up there was the safe roof that is no longer safe anymore, but you are safe in this area. Zombies are going to be throwing their flesh at you like you're seeing here, but if you just stay kind of moving like I am, you're going to be perfectly fine, and then from here it's just a waiting period, guys.
You're going to hang out here. You're going to wait for the delivery cargo contract to appear, which is ideal. B the tank contract to appear over here, and if none of those happened. I would probably just go ahead and grab this bounty contract and cancel it and get it out of the way just to guarantee your contract's going to appear, so as soon as one of these does appear.
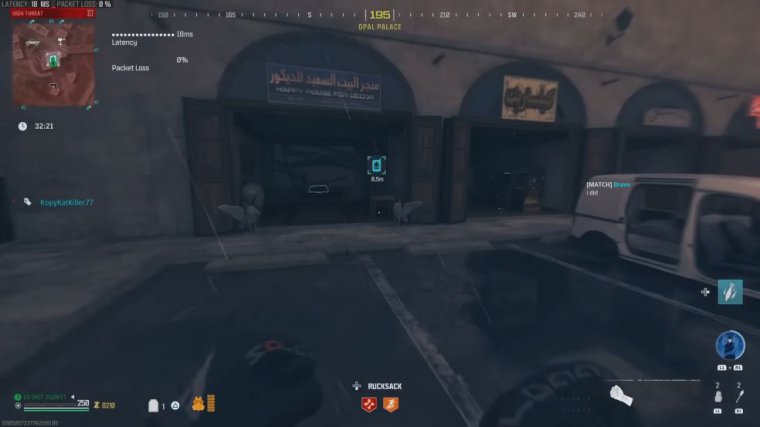
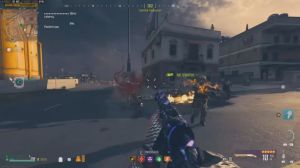
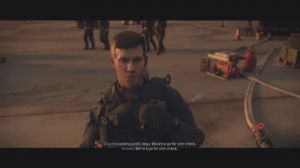
I'll go ahead and pick the article back up. All right guys, so we got a little bit lucky there, and we had the delivery cargo contract appear from here. We're going to do the exact same thing: grab the contract, throw a decoy grenade over here, try to get this zombie out of the way, and we're going to open the door.
We're going to grab the contract and then we're going to get out of here so I'm going to show you guys a different way you could travel to get there I've seen both ways I like going to the right a little bit more it feels like more zombies, spawn in my way this way but this way is just a little bit quicker I've learned but you'll see right here there are a bunch of zombies that do spawn here which kind of worries me sometimes just because you don't want your truck to get super damaged, or anything, but if you guys want you could take this way to make it just a little bit quicker just be careful and not damage your vehicle too much because the last thing you're going to want to do is destroy your vehicle and have to redo this all again without getting the reward.

So we'll get out of here. We'll see what we get. We got a three-plate vest you love to see, and then we got to get out of this area because I do not feel like dying. We're going to lose the vehicle. See, that's the unfortunate thing that I was saying about this storm collar area. It is just so dangerous there, so if that ever happens in your guys' game, I would honestly just recommend it.