News - How To Kill Worm Boss Solo "gorm'gant" Warzone 2 Zombies
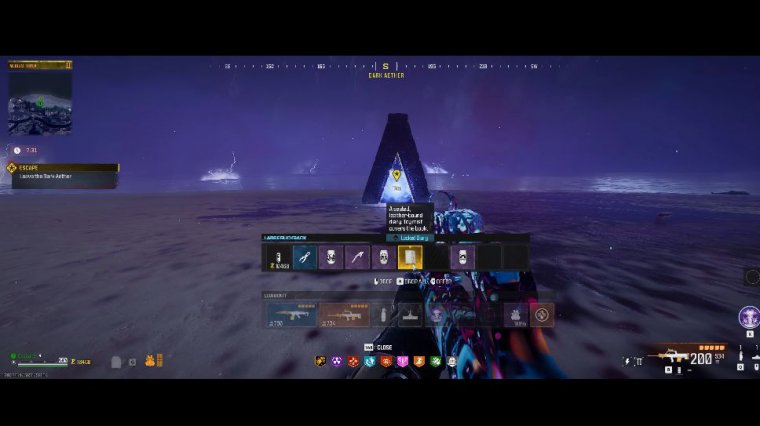
my friends In today's article, I am going to show you how to defeat The Ether Worm, the new boss for Act 4 Solo. If you've played the season 1 update for zombies, you've definitely noticed that this is not solo-friendly whatsoever. But since I like to play solo, I tried to figure out a strategy that will help you out.
I started the game pretty fresh, and I didn't bring in many items from my acquisitions. However, if you do have rewards, I would highly recommend bringing them in. It is also extremely important, and I would almost consider it mandatory to have a large backpack and a plate armor vest. Next, pretty much play through the game, collect as many points as you can, and purchase yourself a legendary weapon from the Tier 3 Zone.
If you don't know how to get to that state, I have a article in the description. You will then want to continue completing contracts until you have enough points to pack-and-punch them to Tier 2. At least I did it on Tier 2. You don't need Tier 3. Also, throughout the process of completing the contract, while you're gathering points, keep an eye out for self-revived.
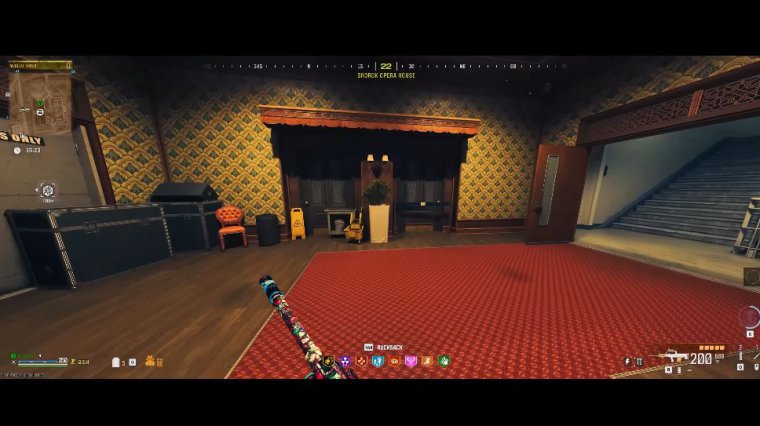
You'll want to collect as many as you possibly can. Before we head into the dark ether, make sure that your large backpack is full of armor plates, stacks, and self-revive kits. Once you are ready to enter another realm, make your way over to the star located on the mini map and vote to get into the dark ether.
This is a very important piece of information. The second you make your way into the dark ether, in the top left-hand corner, you can see the timer. It will start you fresh in 30 minutes, no matter what, so you have the full 30 minutes to spend in this area of the map. In the boss fight, you don't have to rush anything.
For the first portion of the boss fight, you are going to have to break four seals that are scattered around the map. In my games, they were in the same locations; they should be in yours too. I would definitely recommend having decoy grenades for this step or Casmir devices. I'll show you when and where to use them for this first seal.

It's fairly easy; you don't really need much. With a cryofreeze and ammo mod on your weapon, you should have no problem getting through this one. Throughout the process of breaking the seals, you're going to be killing a lot of zombies. You can use this time to stack up armor plates in your backpack for future boss fights.
Now for seal number two, in my opinion, this was by far the hardest one with the most amount of zombies and it's just in front of the fortress. What I did the second I got in front of it was throw my Casmir device in front of it. I activated the seal, and you can see just how fast the progress bar fills up on the Casmir device.
If you don't have those, you can throw down a decoy just in front of it and just mow all of the zombies once it's active. If you do by chance get stuck or trapped by the zombies, I would definitely recommend having the Tesla Storm Field upgrade activated, and all the zombies around you will freeze for the third seal.

This one was located inside the building, and by far, this was the easiest one to complete for the final seal. And in my opinion, this one was the second hardest to complete. You're going to get a lot of zombies, spawning some special enemies like the disciples, and the only piece of advice I have to give Every time you run out of armor, make sure you plate up as fast as possible.
Now it's time for the boss fight, ladies and gentlemen. In my game, I found one of these dark ether rifts around the perimeter of the map. I used this to get to my starting location. The dark ether worm is going to spawn in the exact same location every game, just on the beach side of the fortress.
If you're taking a rift, land directly on the highest point, like I do over here, or you can simply get up there without the rift; you simply have to climb up. Now, when I was making the strategy and giving this an attempt for myself, there was really nobody else that I saw completely solo, so I had to make my own way out.
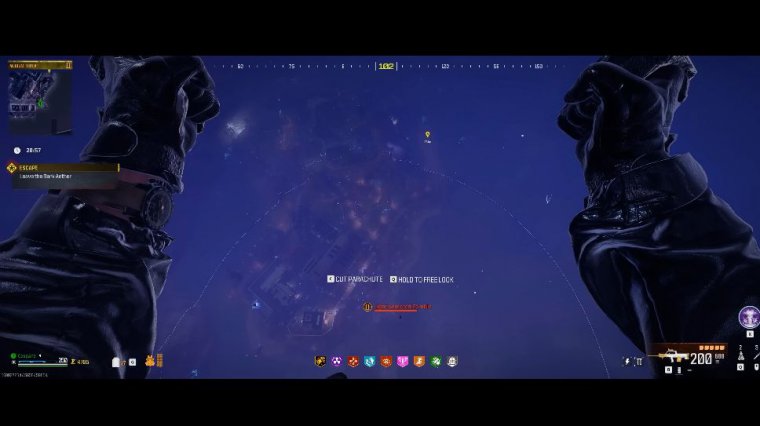
I stayed in this location until the zombies dropped me an instakill. Realistically speaking, I was trying to see how much damage it could do, but it's not necessary. The second you get an instakill or you're ready to spawn the dark ether worm, simply paraglide towards the beach. The start of this strategy is not perfect.
I was trying to figure things out for myself, but you can learn from my mistakes, and I'll guide you through them. On both the left and right sides of the ether worm, you're going to see exposed areas that are glowing purple. These are the locations that you will want to shoot, and once you successfully hit them, you will see your hit marker turn yellow.
At this point, I realized that I really cannot dodge these kinds of attacks; they drain your armor completely, so I said, You know what? We're going to shoot this thing from a distance, and we have to achieve some higher ground cover. I decided to run up this hill. There's both a staircase on the left side and one on the right side, for your convenience.

Once I was up here, I continued shooting the worm from this distance. At some point, you will notice that the worm is going to burrow itself underground and basically run around swimming; underneath, you will see the debris flying from above. I had no idea how to get him out of there. Aside from jumping back down to the beach area, there is also an ammo cach here, so I would definitely use this every time you run down just to fill up.
Every time the worm would come out of the ground, I would continue shooting at the exposed purple locations and back up the stairs. You can also notice right here the purple beam attack. If you're on the beach, it is definitely going to attack you, and once it starts to spawn these purple orbs, you want to kill them as fast as you possibly can.
Simply spray and prey; if they hit you, they will drain your armor really, really fast, and if they're out for too long without being killed, the ether worm will go back underground. Now, for this next portion, the strategy is pretty much the same. You'll want to use the left and right sides of this building as covers to prevent those slam-down attacks.
Every time the attack is over, run right back to the worm and start beaming the exposed areas. Peace.


