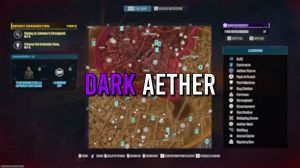
News - Complete Dark Aether Solo Guide For Season 2 Reloaded Warzone 2 Zombies (how To Get New Schematics)
Intro
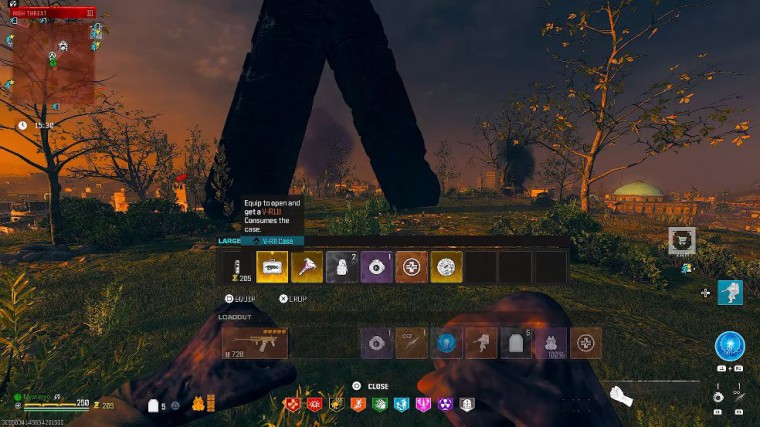
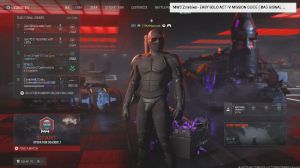
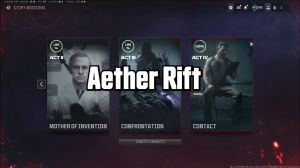
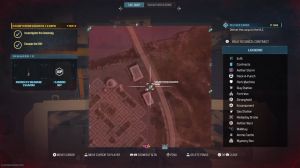
Here's how to solo unlock and complete the new Dark Rift added with season 2 reloaded in Modern Warfare Zombies. This includes a solo walk-through for the new act for the mission called Counter Measures, with a guide to get and attune all quest items to open the second rift. This Rift is much easier than the first, at least in my opinion, and the adder's version contains all three new schematics, just like before.
This time the new items are the following: the plans to grab the VR1 wonder weapon, the keys to cooling the Bloodb burner motorbike, and the schematics of the mag of holding, which removes the need for reloading. So without further ado, let's start with the recommended setup for the story Mission.
Story mission setup
First, select and activate counter measures from your story Mission Tab, and then start with a bullet weapon with epic rarity and tier two Pack-a-Punch, which is more than enough this time, but if you want to go overkill, feel free to use anything you have. I use my favorite MCW, the assault rifle; it's just the old reliable for me, but you can use any bullet weapon with high enough firepower, bringing monkey bombs, gazmir, or decoys.
Your perk setup isn't that important this time, but I still recommend getting as many as possible and having four empty slots in your rock. Also, having a fenit guard as your field upgrade to repair your armor and a durable gas mask will help a lot when you are ready to activate the small portal to start the mission in the high thread zone, which will be marked on your tech map.
How to get gloves
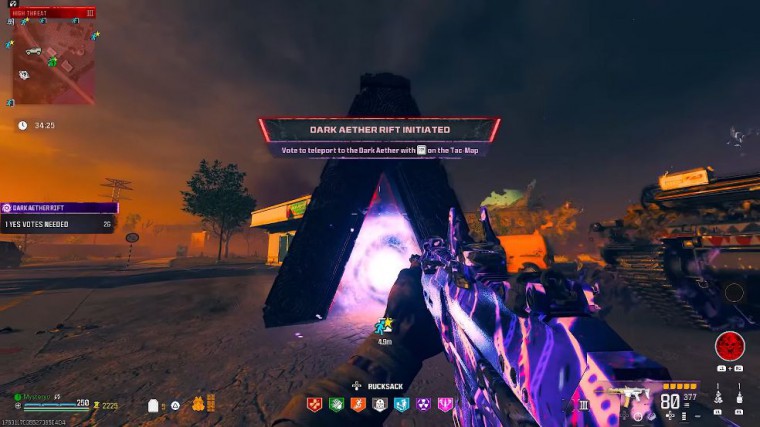
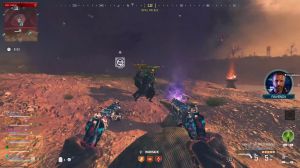
Then you will be teleported to the dark ether, all the zombies will be tier enemies, and you have 30 minutes inside to complete the mission.
You have to activate three obelisks, complete three challenges, and obtain the hidden quest items during the mission. So after you spawn, instead of following the objective, you have to go on top of this ship next to you. If you decide to bring in the scorcher, you can move around more freely and instantly jump up there, but let me show you the intended way.
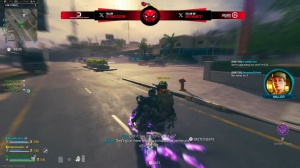
Climb on top of this billboard, all the way to the top, and then jump on this truck, then jump on the ship, and run all the way along until you see the Obelisk. Activate it and get melee kills inside of a circle, but the game will give you an insta K, so there's no need for a melee weapon. This sword is only for visual purposes, so after less than 10 m, it has a portal with spawn containing the gloves, and you can pick them up as your first quest item.
How to get the mirror
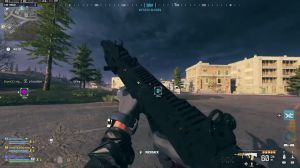
Now you should progress with the story. Mission and escort the ACV until it stops in front of the mosque. Instead of going inside, take the same route as me in the article and stop right in front of this glowing sign, then turn around and run into this dry river filled with mysterious fog. a super-neat area, by the way.
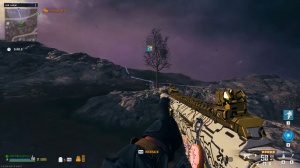
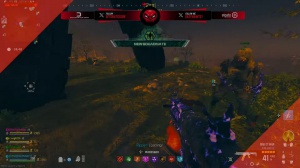
Here you will find the second obelisk in the middle of an ethereum crystal circle, kind of thing, and after activating it, a ring will spawn and tablets will float around the obelisk. Each tablet corresponds to an ammo mod, and they say which one is which, while the ring also corresponds to an ammo mod, so you have to put the matching ammo mod on your weapon and get kills inside the ring just as a heads up.
The tablets won't immediately put the ammo mod on your weapon; you have to pick them up from the ground. I'm pretty sure the order never changes, so it starts with napon burst, then cryofreeze, then changes to that v, and ends with brain R all the time. So after killing enough zombies in each circle, a portal will spawn containing the pristine mirror, and you can pick it up as your second quest item.
How to get the target
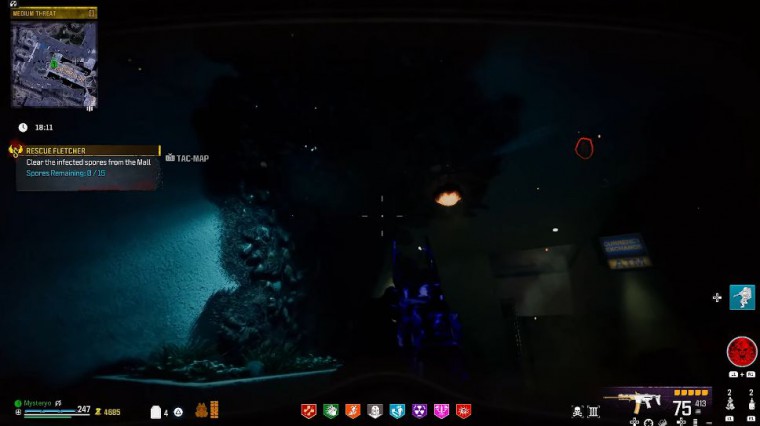
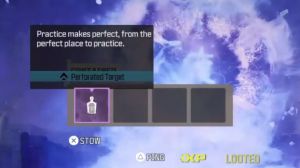
Now it's time to head back to the mole and destroy all the cysts inside. Having that perception can help you a lot with this task, and just as a tip, the cysts are always around the staircases and the middle sections of the three main corridors of the mole, plus don't forget to repair your gas mask with ammo refs inside.
Once done, continue escorting the ACV until you reach the soccer field before activating the PN. Leave the field following the same route as me, and you will see the last Obelisk on this crossroad activated and get headshot kills inside the ring. This shot can help you a lot, but once you get enough headshot kills, the portal will spawn and contain the target.
Make sure you pick it up as your third quest item , then return to the field and activate the PN.
How to get the drum
Survive the Outlast and prepare for a smaller-scale boss fight. Thank God it's not an ether verm this time but an electric mangler. Just focus on shooting off his helmet, and always target his head for extra damage.
Also, do not leave the field. I mean it because he will regenerate his head. Also, as long as you keep your distance and use your tacticals and field upgrades, there won't be any problem in this fight, so after you kill The Mangler, another portal will spawn containing some random loot and the already upgraded drum, which is the final quest item. Now you can expel, enjoy watching the cut scene, and prepare yourself for upgrading the three purple items on ö exan.
Attuning the gloves
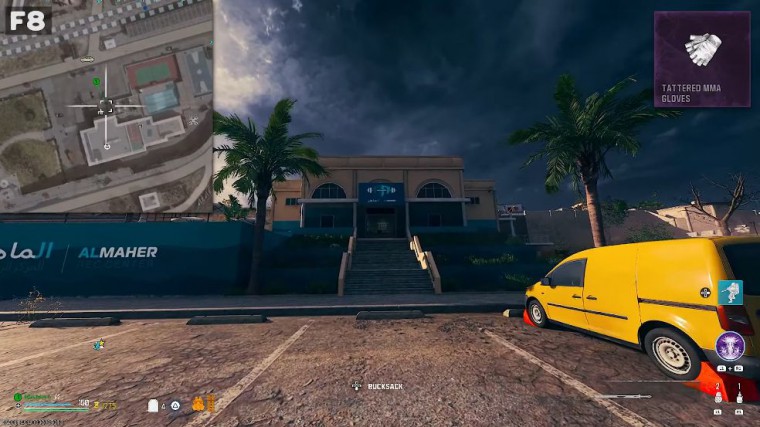
First, first let's start with the gloves. head to reboxing in F8, and enter the ring. If you have the quest items in your rock sack, you will receive a prompt to offer The Relic, and when you do so, the screen will shake, indicating you did it right now.
You have to melee these punching backs until all three are set a flame this will spawn a special zombie with red flaming hands, and you must melee kill it inside the ring, but you can only use your fist. If you have two weapons, you must throw one of them, and after killing the zombie, you can pick it back up alongside the ultra-rare version of the gloves.
Attuning the target
Okay, so next, let's continue with the target. Head over to the fire ring range in H8, next to Shahim Manard, and offer The Relic. Here, you have to shoot all eight purple globing targets in this area, and you are doing it right. When the target is set on fire, you can locate them all around the firing range, but they always spawn in the same spot as seen in the background footage.
The order doesn't matter, and even though there's a time limit, the game gives you like two to five business days to complete this. I can't believe someone can mess this up, but after shooting the final target back to the topic, a special zombie spawns again, and this time you can only damage it via head shots. After killing this enemy, you can collect the ultra-reflective version of the target.
Attuning the mirror
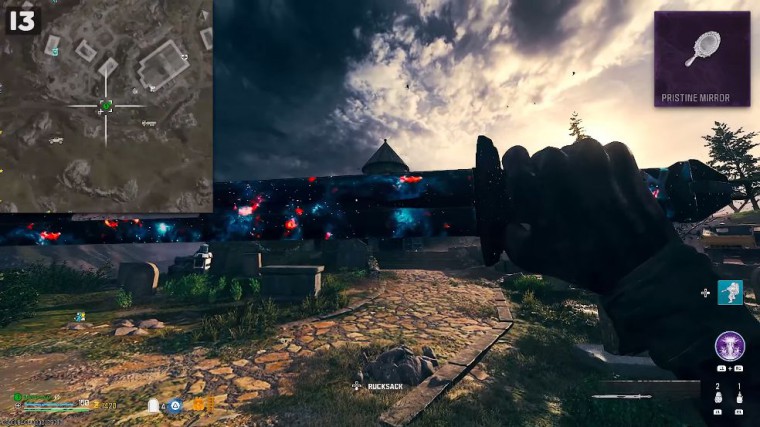
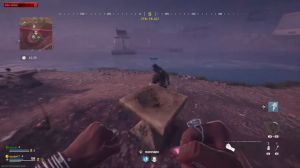
Lastly, we have the pristin mirror, and to upgrade that, you must head over to I3, to the church with the graveyard, go to the left after facing the church, and you will find this tomb with the mirror on it ofering the Relic and watch a zombie spawning in radiating with an element behind you.


