News - Cod Warzone 2 Zombies, How To Kill The Red Worm (greylorm) Solo Guide
Cheesing method

As you probably figured by now, preparing for the red warm is quite a bit of work, so before we get to the fight itself. I feel I have to also mention a way to somewhat cheese Here is the thing: any player that participates in the battle and does any damage to the warm gets the rewards once the warm is killed, regardless of whether they are part of the squad that initiated the fight, as long as you stick around to the end of the fight.
So if you don't want to fiddle with USBS and just want to have a chance at reward, keep an eye on where the fighting ground is as you simply play your normal games, and anytime it is in the low threat zone, try to get close to the fighting ground at the end of the main round timer. That way, if another team is doing the red war, you can just take them along for the fight, and if nobody does, get to the XFI and wait for another opportunity.

What I advise against, though, is trying to cheese it all the way, like coming in with a subar non-upgraded weapon and hoping to be carried along. It's not a good idea, not just because you shouldn't be rude to others but also because you'll most likely fail. The battle is very intense, and since you have to stick around for its duration, you are more likely than not to get your fair share of worms and zombies attention.
If you can't protect yourself, if your gun is a peo, if you don't have self-revivals, and so on, you'll be dead, and you may actually cause others to die if they try to revive you constantly. So yeah, be sensible, cut the corners, but don't try to be an ass about.
Fighting the red worm

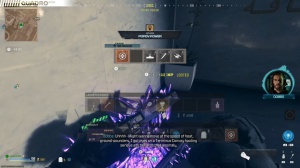
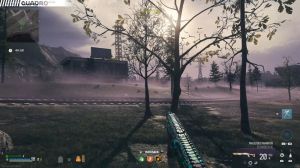
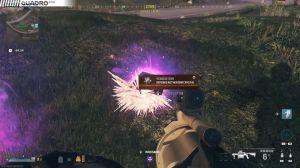
It's the moment of truth. The gas is expanding, and you and your newly acquired allies are there as well. What you'll see when you arrive is four refractors forming a circle around the emoj BS. Each of them corresponds to one of the BS you have, and you can only activate them once they're covered in gas.
It is well known that the WM's health scales with the number of players, but nobody really knows for sure what exactly the trigger is. One of the prevalent opinions is that it depends on the number of people in the squad that inserts the USBs. I'm not sure that's the case that this battle actually demonstrates, but if that's how it works, we are better off using it.
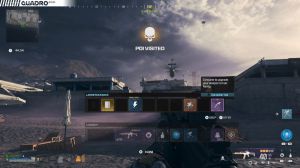
For this exact reason, I'm here solo and not joining other squads when activating the refractors. So as soon as the gas covers the refractors, run around them and use your USBs. Doing so will cause a siren to go off in the area, notifying you and everybody else of the imminent arrival of the boss.

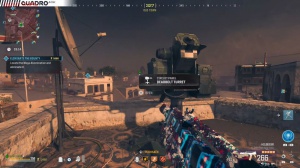
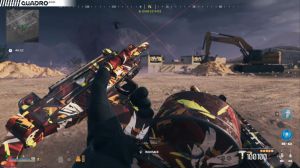
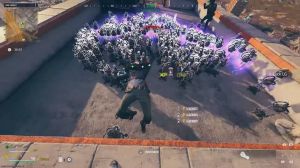
The summoning sequence takes about a minute to complete, which is the time you should use to place your sentry guns around. Try to spread them out, facing inward, so they cover the area from different angles. Zombies will start spawning in too small numbers at first, but the crowd will keep increasing, including special zombies and later Mega Abominations.
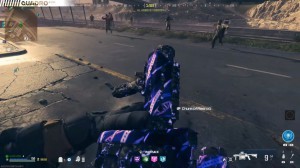
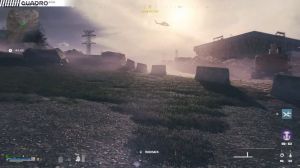
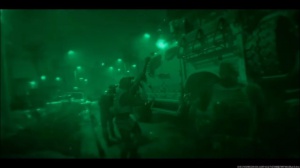
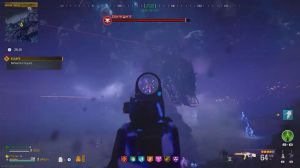
The warm itself should be quite familiar to you; apart from the red glow, its attacks and behavior are very similar to what you had in a bad signal. Mission: What makes this fight actually hard is the absence of any kind of cover in the surrounding area, so you are constantly under attack and always in the fight without any pause or time to recover.

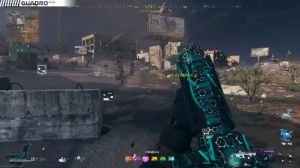
A very important aspect of the fight is your gas mask management. The two ammo caches in the vicinity allow you to replenish them constantly, but it's super easy to forget about them in the heat of the battle, especially the first time around. In general, the sequence is standard. Shoot the warm area as much as you can, trying to heat the exposed, weak areas.
Dodge his ground pound and laser attacks, as those are instant breaks to your armor or instant downs. If you don't have any armor left, try to shoot the purple orbs anytime you see them. If you're getting eaten, keep shooting inside the WM while spamming your jump button; otherwise, it's instant down when you are being speeded out.
By now, you probably clearly understand why you really want company for this fight; there's just too much going on for solo, and worst of all, when you are alone, all attention is on you—every zombie, the war itself, the orbs, the mega-abominations. The whole crowd is Agra, looking directly at you at all times if you are alone.

Having just one additional player helps spread the attention. Having three or four people around raises your chances of success tremendously. Try to keep an eye on whether your dog is alive if you stop seeing the B Dog kill notifications. Use the dog bone if you saved one. Also, try to help any teammates that are down or dead, but be sensible about it.
Your own primary task is not to die yourself, so now one more thing that I feel we need to cover is when things go south. Sometimes it's just bad luck; sometimes the people that come to help have no idea and just die or run away at the very start; and sometimes the warm glitches one way or another and you can't finish the fight.
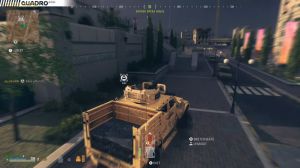
In any of those cases, remember that you can actually escape the fight and get out of the map alive. Before the battle starts, there are not any vehicles that are too far off or even purposely Park one nearby, but not too close, so it doesn't get destroyed in the casing. If you feel like the battle cannot be won about 3 minutes before the timer ends, run towards that vehicle and escape to the final xfuel dark ether or even one of the easiest story missions.

It's a last resort, but it should not be. Eventually, though you'll get your W in this, there's no doubt: congratulations. That is the hardest fight in the game so far. The reward Rift for the W always contains one schematic, a gas mask, and a random reward, usually a wonder weapon case. As opposed to regular contracts, different people may get different schematics from the same battle, so if you pick one you already have, drop it on the ground for others, and also look yourself if somebody drops the one you don't have.
The three schematics that do drop here are the legendary tool Flawless Crystal and a Scure, so all three are useful and worth having. Once you've finished, you can use the portal that spawns next to the reward Rift to Xville or make your way to the final Xville or dark ether if there's still time.
I hope this guide was helpful.