News - Fix Warzone 2 Blurry Graphics. Cod Warzone Graphics Issues & Textures Not Loading On Pc
Intro
in this article. I'll be showing you how to fix graphics issues in Warzone 2 on your Windows computer, so if you're having texture issues, pixelization problems, or just things that look a bit blurry within Warzone too, there are a few things that we can do to fix these problems. But, before we get started.
Update windows
So, the first thing that you want to do is simply ensure that Windows is up-to-date, and we can do this easily by right clicking on the start menu icon and then going to settings, then clicking on update and security. Then, by clicking on the Check for Updates button, if you do have a feature update available, download and install that as well.
As you can see, I currently have one available. So once you've updated Windows, the next thing that you want to do is also ensure you have the latest driver installed for your graphics card.
Update gpu driver

So if you're not sure what graphics card you have in your computer, you can find out by right-clicking on the start menu icon and then going into the device manager.
If you then expand display adapters, you would then see your graphics card, so I've got a GTX 1660 Super, which means I'd need to go to the Nvidia website and download the latest driver for this graphics card. So now that we've updated Windows and our graphics card driver, the next thing that we want to do is also update DirectX.
So DirectX is updated in two ways: it's updated through Windows updates, which is why I wanted you to check for Windows updates at the start of the article, and we can also manually install the latest updates for DirectX as well.
Update directx
You now need to select your language and go to the download page.
Once the file's downloaded, go ahead and run this setup file. You will then see a window that looks like this: "We need to click on IKEA." Set if you do agree to the terms and then go next, and then if you want to install the Bing Bar then that's up to you; I don't want to, so I'm going to deselect that, and then we need to go next again.
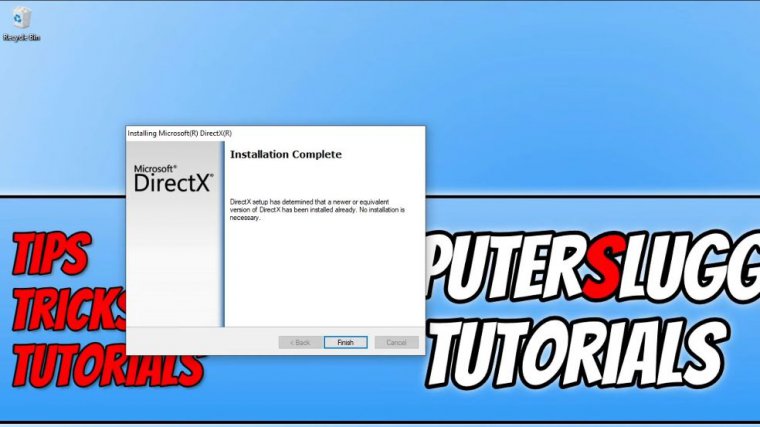
It will now begin to check to see if it can install a newer version of the DirectX files on your computer. So, as you can see, I already have the latest version, so that's all good. So if DirectX did update on your computer and you also updated Windows and there was also a new driver available for your graphics card now, go ahead and try Warzone 2 and see if it resolves some of those graphical issues you've been having with the game.
Clear directx cache
So the next thing that we want to do is clear the DirectX cache, and we can do this by opening up the start menu and then typing in disk cleanup.
Once the DirectX Shady cache has been removed, the next thing that we want to do is also remove the temporary files for your graphics card. If you have a new article graphics card, then there are going to be some old cache files (shade cache files) that we can remove if you have an AMD, and we can also do the same for an AMD graphics card, so to start with.
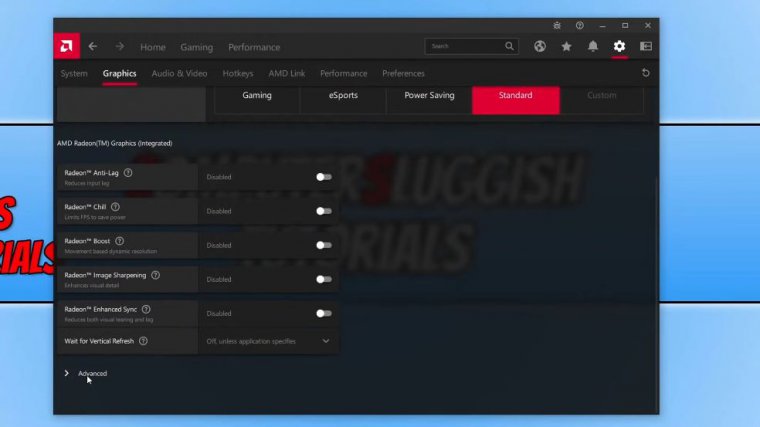
I will do the AMD graphics card to show you how to do that, so we need to right-click on the desktop, and you then need to select AMD software. Next, you need to click on the settings button. In the top right-hand corner, you now need to select Graphics at the top, and we then need to scroll down and then expand Advanced.
And then scroll all the way to the bottom, and you will see a reset. Shader cache, you need to click on this option, and then click OK. So, if you're an Infinity user, then we need to open up File Explorer.
Clear infinity cache
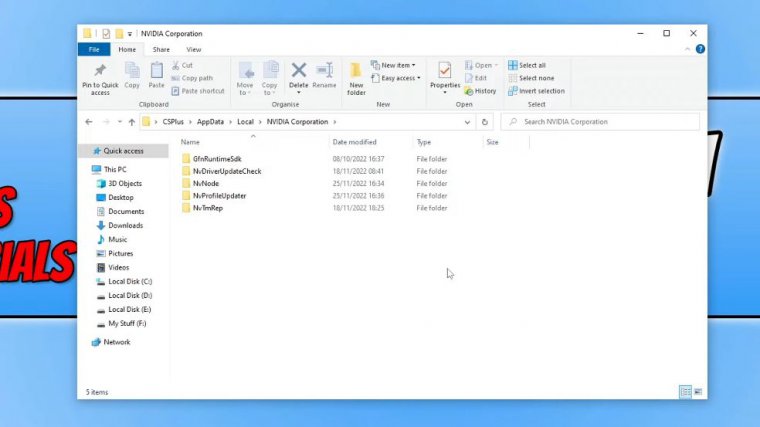
Once you have file explorer open, we then need to click in the top, and you now need to type in local app data and you need to do the percentage symbol at the start and at the end. Once you type that in, you then need to press enter, and we now need to find the infidia folder, so click anywhere on the list and then press n on your keyboard, and you will then see infidia.
You now need to open up this folder, and you then need to go into the DX cache folder and then select anywhere and go control-a; we don't need to right-click and go delete. Then you need to go back and skip if you do have a warning saying that it can't delete a file because it's currently in use, like OBS Studio for me at the moment is currently using that file; you then need to go back and do the same for the GL cache.
Once you've done that, we then need to go back to the app data folder, and we then need to go into local. We then need to find the infidia, which is in the infidia corporation folder. We need to open this folder, and if you have an Nvidia underline cache folder within it, you need to delete the files in that folder as well.
As you can see, I don't currently have that folder, so that's fine. So now that you've cleared the cache for your Nvidia or AMD graphics card, go ahead and try Warzone 2 again and see if that helped.
Disable gsync
If it didn't help, then the next thing that you want to do is turn off G-Sync or FreeSync, depending on what graphics card you have. I'm a article user, which means I would turn off g-sync.
I can do this by right-clicking on the desktop and then going to the Nvidia control panel. Once you have the Nvidia control panel open, you need to click on setup g-sync, and you will then see the enable option. You need to simply untick this option and then press Apply. I'm not actually going to do this because I'm currently recording and it might mess up my recorder, so once you've disabled g-sync, try Warzone and see if that helps.
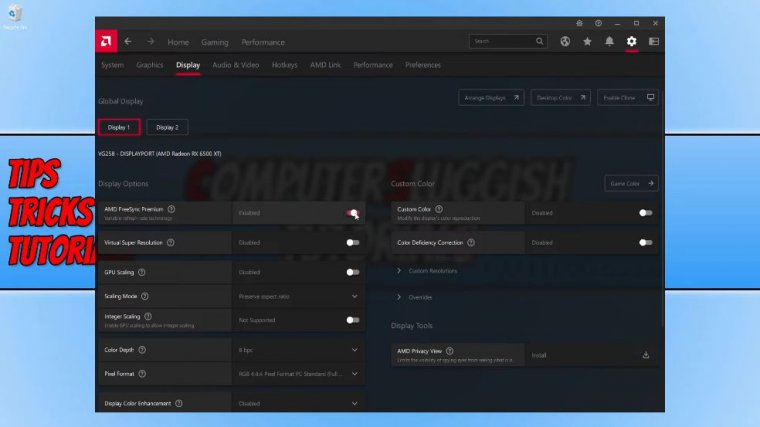
If you're an AMD user, then you can do this simply by right clicking on your desktop and then going to the AMD software once it's open. You now need to select the settings cog, and you then need to click on the display tab. And we now need to simply toggle off the AMD FreeSync option. As you can see, mine now says "Disabled." Try launching the same two applications again and see if that helps.
If it didn't, you can always toggle it back to enable. You now need to open up Warzone, as we have a few different settings that we need to change within the game.
Graphics settings
Once you have the game open , you need to select the settings cog in the top right-hand corner, and we then need to click on Graphics. We will now see a massive list of different graphics settings, so the first option we want to change is the display mode, and as you can see, mine is currently on full screen exclusive.
