News - Legion Faction Tier 3 Mission Guide For Warzone 2. 0 Dmz (dmz Tricks & Tips)
Intro
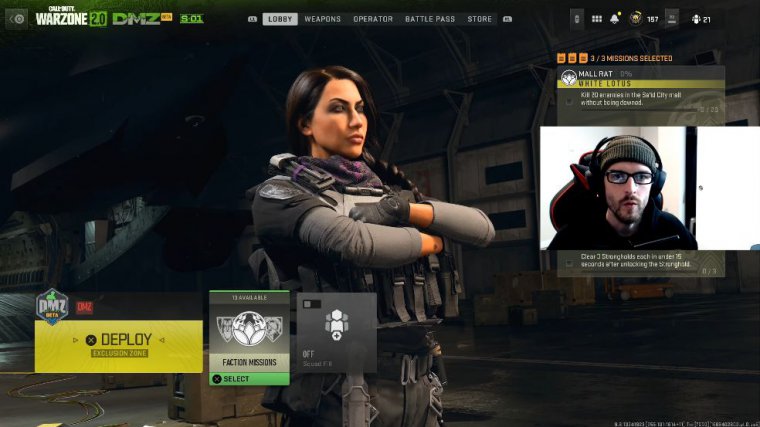
I'm bringing you guys the mission guide for Tier 3 of the Legion faction. One's going to be unlocked as soon as you complete the last and final mission of tier two, and this one consists of seven total missions, missions five, of which you will have to complete in order to unlock the final one, and unlocking the final one will allow you to move on to tier four.
Fort scout
First up, we have Fort Scout. It's going to be a three-parter, and part one is going to ask you to travel to Elbagra Fortress, so if you're lucky enough to get the spawn where you're there, you'll get this completed immediately; if not, you'll want to make your way to a bug or fortress once you get in the area.
This part will be completed now that you're in the area for part two. You're going to loot 12 caches in Albaga Fortress, which include medicine cabinets and anything else that you look at that says loot cash; as long as you look at it, you don't even have to pull the items. So you will obviously be able to do this 12 times.
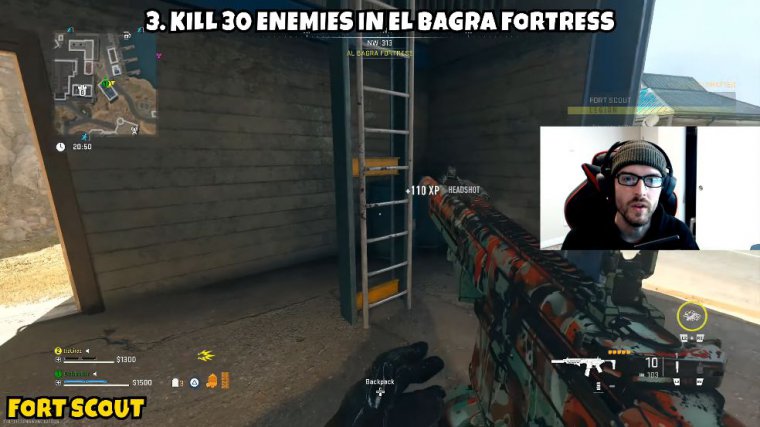
The last and get this guy completed pretty quickly. Now the last and final part will take you a little bit of time and can be frustrating, just depending on your experience level, to kill 30 enemies in a bag or fortress. I recommend using the little UAV ping tower there, as it will give you a pretty good idea of where most of the people are, and you'll be able to run around and eliminate the 30 enemies and get this done in this entire mission.
Dead drop
Next up, we have a dead drop. This one can be a little bit of a pain, but there is a strategy for making it easier. Part one is asking you to travel to All Masra City, similar to the previous one. Literally, once you get in the area of our Masra City, you'll get part one completed, and maybe you'll even be lucky enough to spawn here.
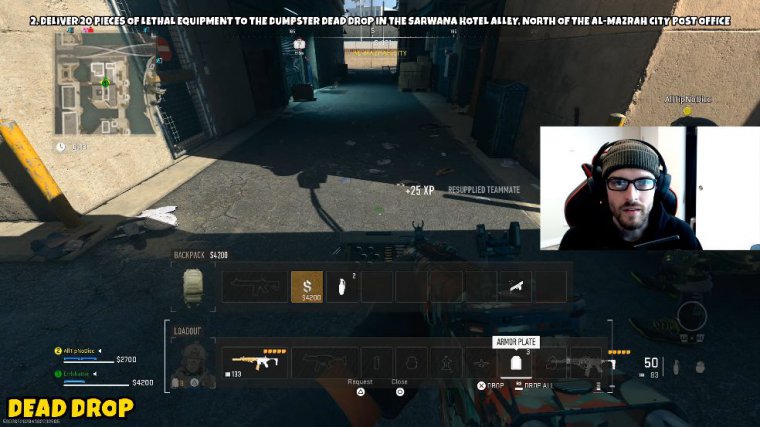
However, step 2 is a little bit more difficult; it's going to ask you to deliver 20 pieces of lethal equipment to the dumpster Dead Drop in the hotel, in the alley north of the Almazar City Post Office. Once you get familiar with the area, it'll be pretty easily defined. You're going to go over to the Dead Drop, where we're going to place lethals.
Into the Dead Drop, and this will obviously tally up, you're going to need to do this with 20 of them in order to actually complete it.
Commanding intel
Next up we have commanding, Intel This one is going to be straightforward, as it is going to involve a contract. One is to acquire a secure Intel contract. If you guys open your TacMap and are looking at the contract phones, you'll be looking for the one with the file and the question mark on it.
You're obviously going to want to ping. Go over to the area and acquire it, and part one will be completed. Part two of the course is tied in with part one as long as you are able to do it, which obviously is going to be completing a secure Intel contract to reveal the location of an enemy commander.
So essentially, once you've acquired your Intel contract, you're going to want to go to the first area to acquire the laptop. The second part at the top of the hour, once you get this completed, will actually call in an enemy commander or at least let you know what location they're in. Typically, it's going to be the Juggernaut; sometimes it's the Helo.
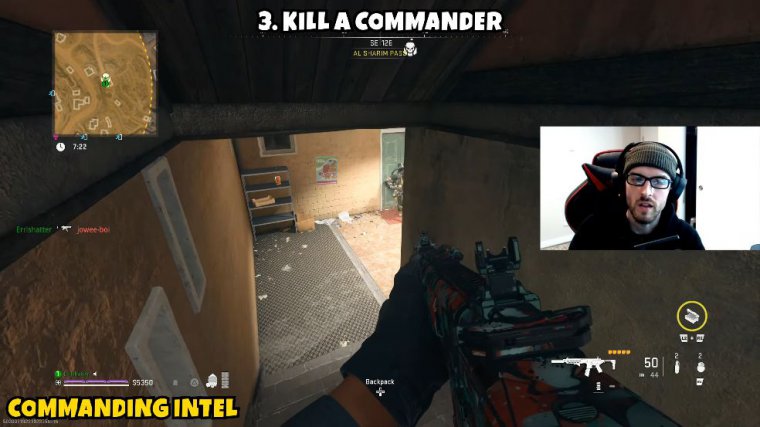
Now for the final part of this one, it's going to be to kill a commander. Obviously, once you've completed the secure Intel contract, it's going to let you know where on the map this commander is going to go to the location where you're going to eliminate them. Whether it's the Juggernaut or the Helo does not matter, and once you've actually taken them out, this part will be completed and commanding Intel will be.
Good fortune
Next up, we have the good fortune that this guy is going to be a two-parter and it's going to take you over to the SWA Village. Part one is asking you to unlock room 302, on the top floor of the Sawa Hotel I.
Usually you would need a key to unlock a locked door, but for this one in particular, you will not need the key. I'm not really sure how this works out, but essentially, you'll go to where I show you on the map, you're going to scale up to the top of the building via the ladder, there are going to be holes in the roof, and you're going to want to look through each of these holes to make sure you go into the room that has the golden GS50.
You're going to drop into that room and unlock the door from the inside, so we can get part one completed. Part two, however, is going to be a little bit more difficult. It's going to ask you to loot and extract that golden GS50 from room 302 in the Sawa Hotel, so you're going to have to pick that up obviously as a secondary or primary it doesn't really matter, and you're going to want to do it safely.
You will want to be cautious doing this because, obviously. If not, you'll have to go all the way back to that building and go back through the whole situation in order to try to extract it again. Once you extract it this way, will be completed.
Tactical extraction
Next up, we have tactical extraction. One is going to ask you to extract with 13 gas grenades, and of course in order to do this you're essentially going to want to go in with the gas grenade already equipped in order to make things easier, and the best way I found to actually do this was to rack up a bunch of money, buy some Munitions, boxes, and throw them down until I had acquired a full inventory of gas grenades.
You do a combination of the next two parts of the challenge as well. Part two of the course is to extract with 11 flash grenades. Along the same lines, you're going to want to go in with the flash equipped, and then you could use munition boxes to kind of rack those up, or you could also just choose to loot these; it's kind of up to you.
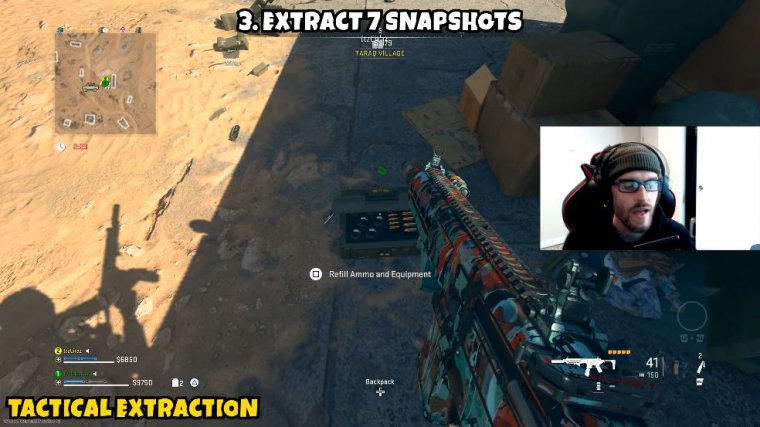
And then part three is to extract seven snapshots. Again, along the same lines as the previous two, you're going to want to utilize ammunition and boxes to prevent you from having to loot for as many of these as possible. That way, you guys will be able to extract items quicker, as you won't be traveling all over the map trying to loot and putting yourself in different situations.
You'll kind of put yourself at less risk by doing it the Munitions Box way, and it will be overall faster. If you do this with each of these, you will have completed tactical, extract Next up, we have the Recon Flyover.
Recon flyover
This guy could be one of the most irritating ones in this tier. Part one is asking you to acquire a recon drone. This is pretty easy. You can choose to go in and loot one if you'd like, but the better route to take is to just equip one before actually loading.


